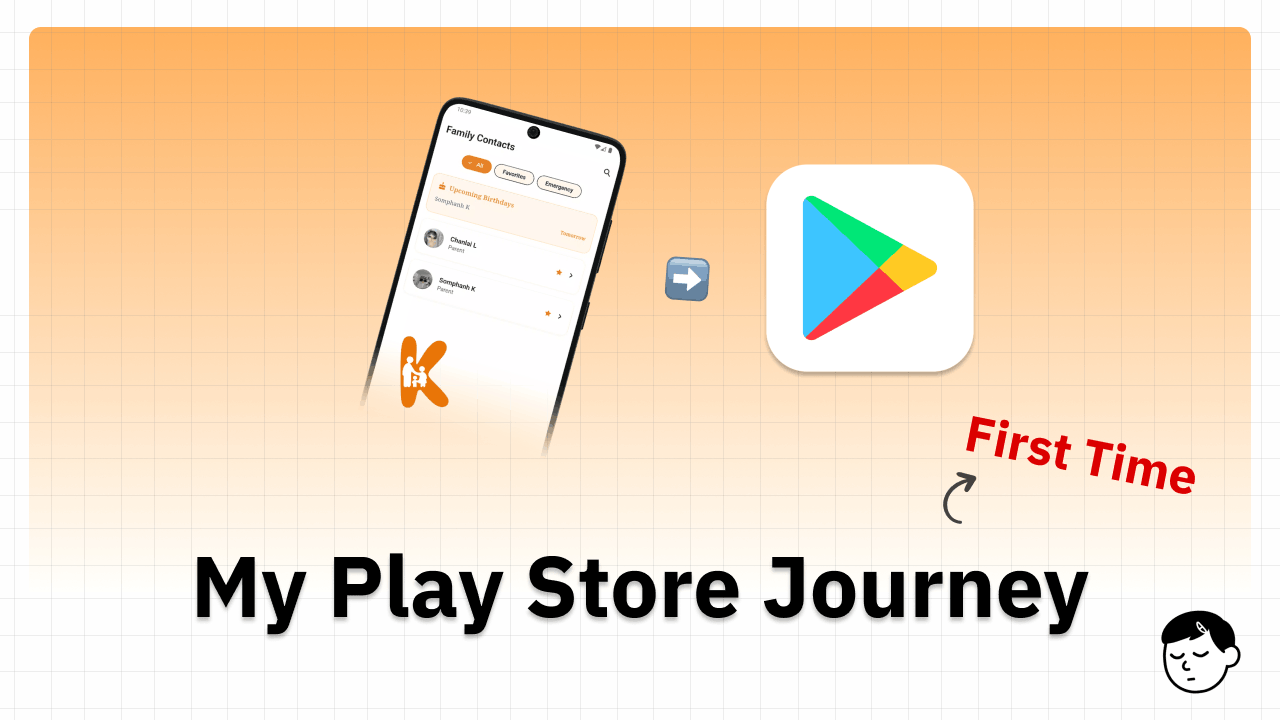
First Time Publishing an App to Google Play Store
/ 6 min read
Table of Contents
If you’re a solo developer thinking about publishing your first app to the Google Play Store, this is for you. I want to share my real experience so you know what to expect — because I sure didn’t.
Step 1: Register a Google Play Console Account
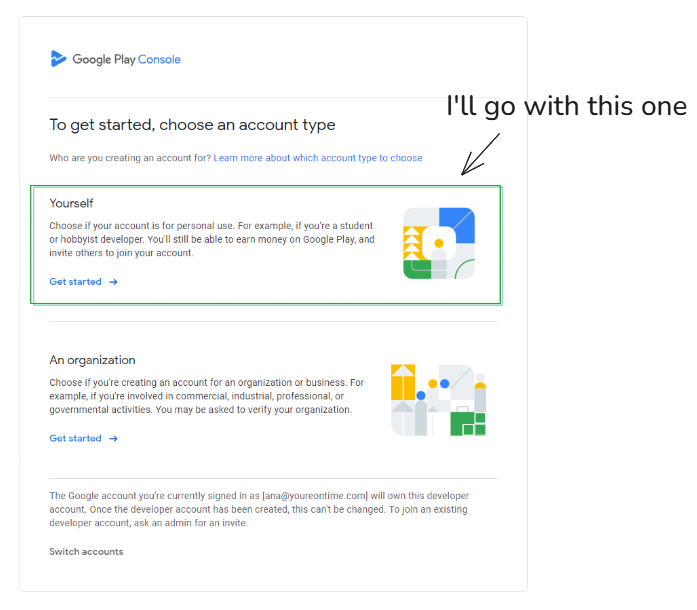
The first thing I did was register a Google Play Console account as an individual. This is a one-time $25 fee. Sounds simple, but the account type matters a lot later (more on that below).
I chose the “Yourself” option since I’m a solo developer — not an organization.
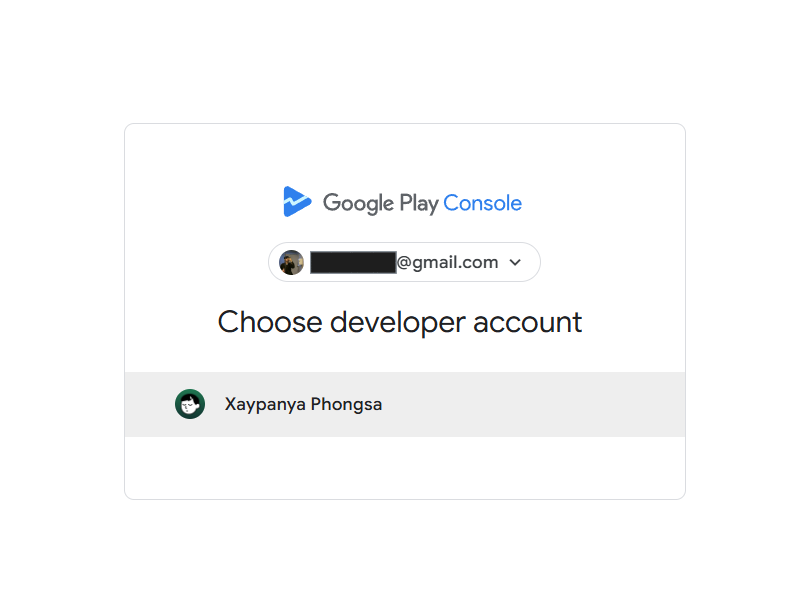
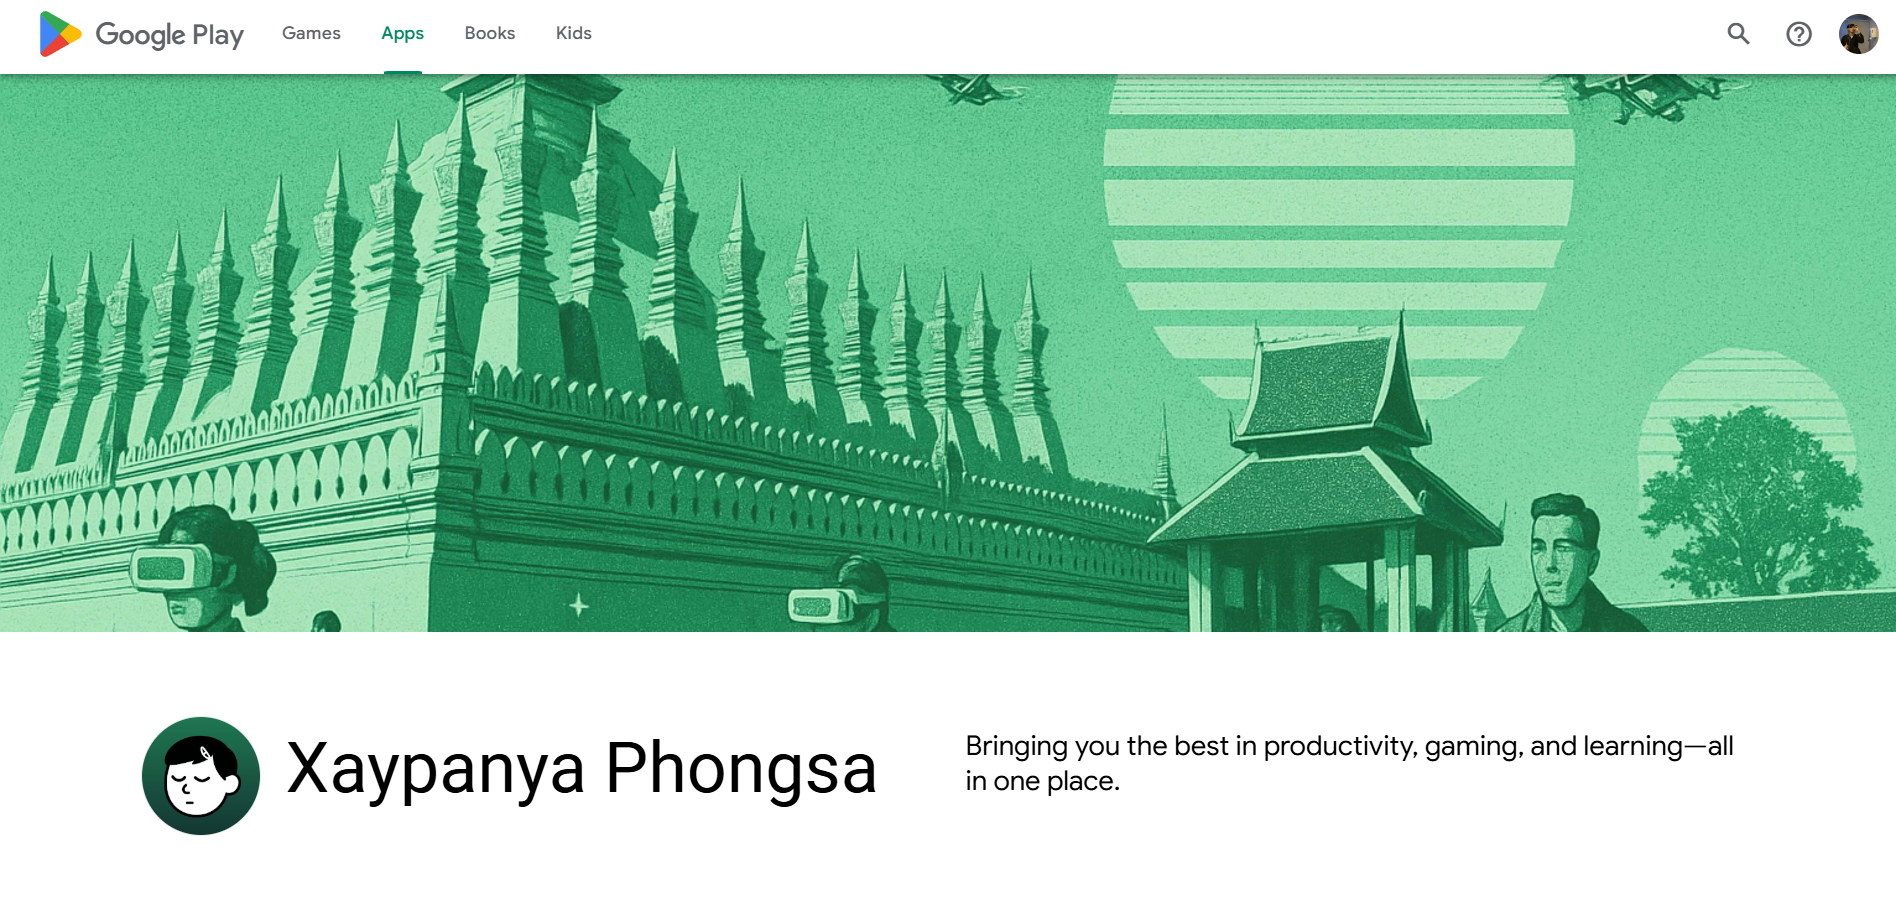
Once the account was created, I had my own developer account on the Play Console.
And here’s what my developer profile page looks like on Google Play:
Step 2: Build the App
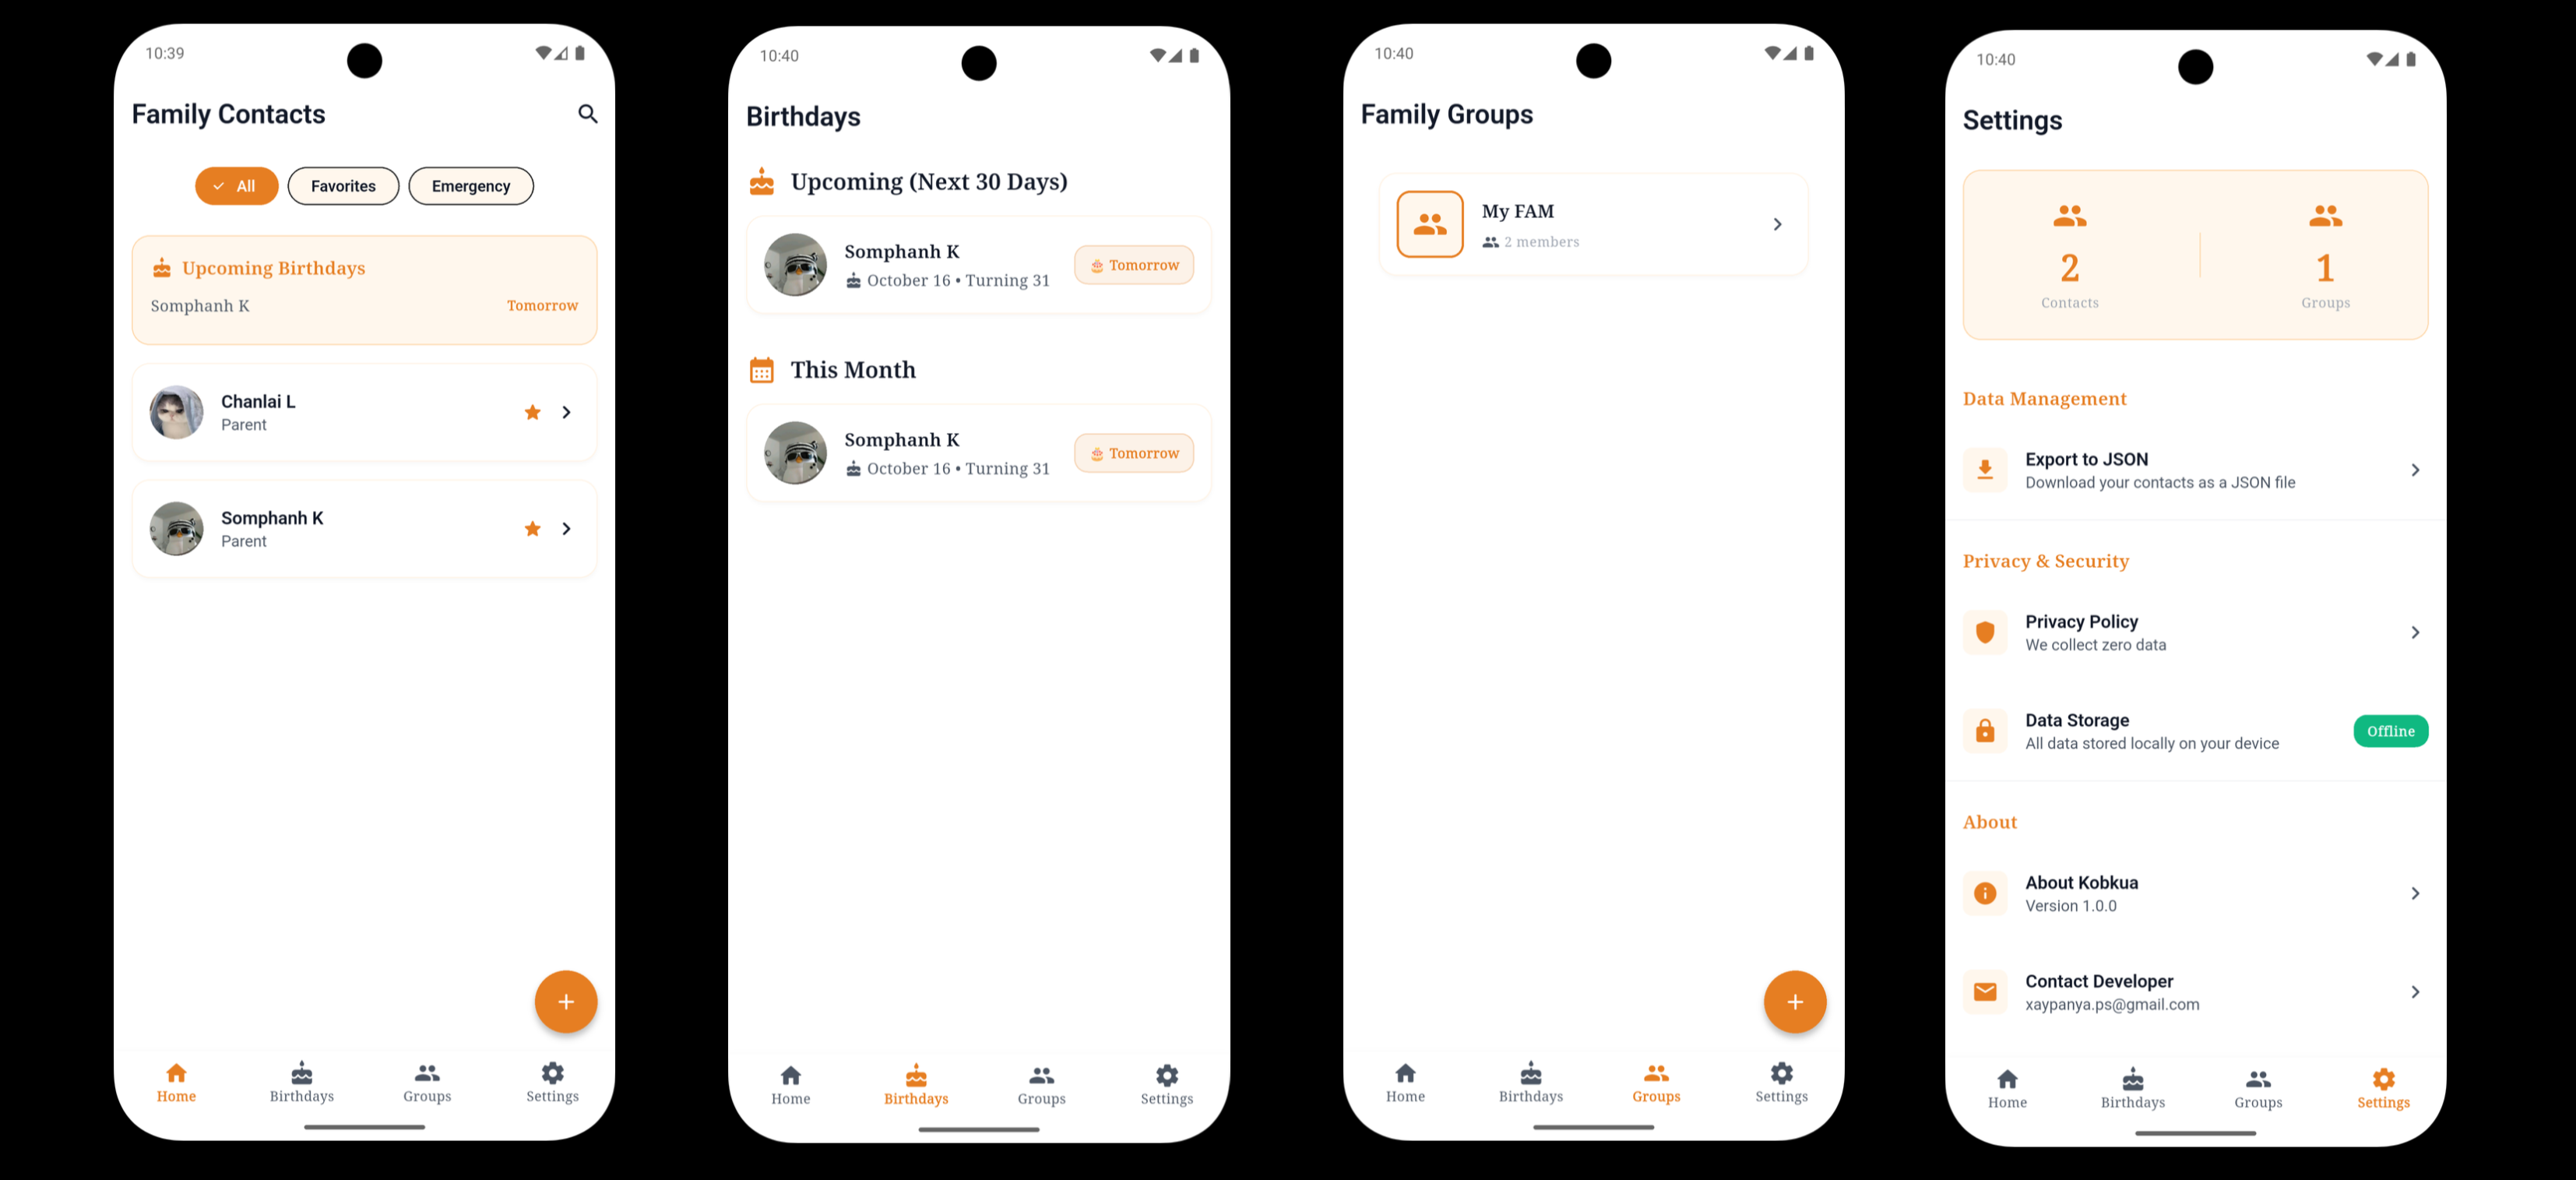
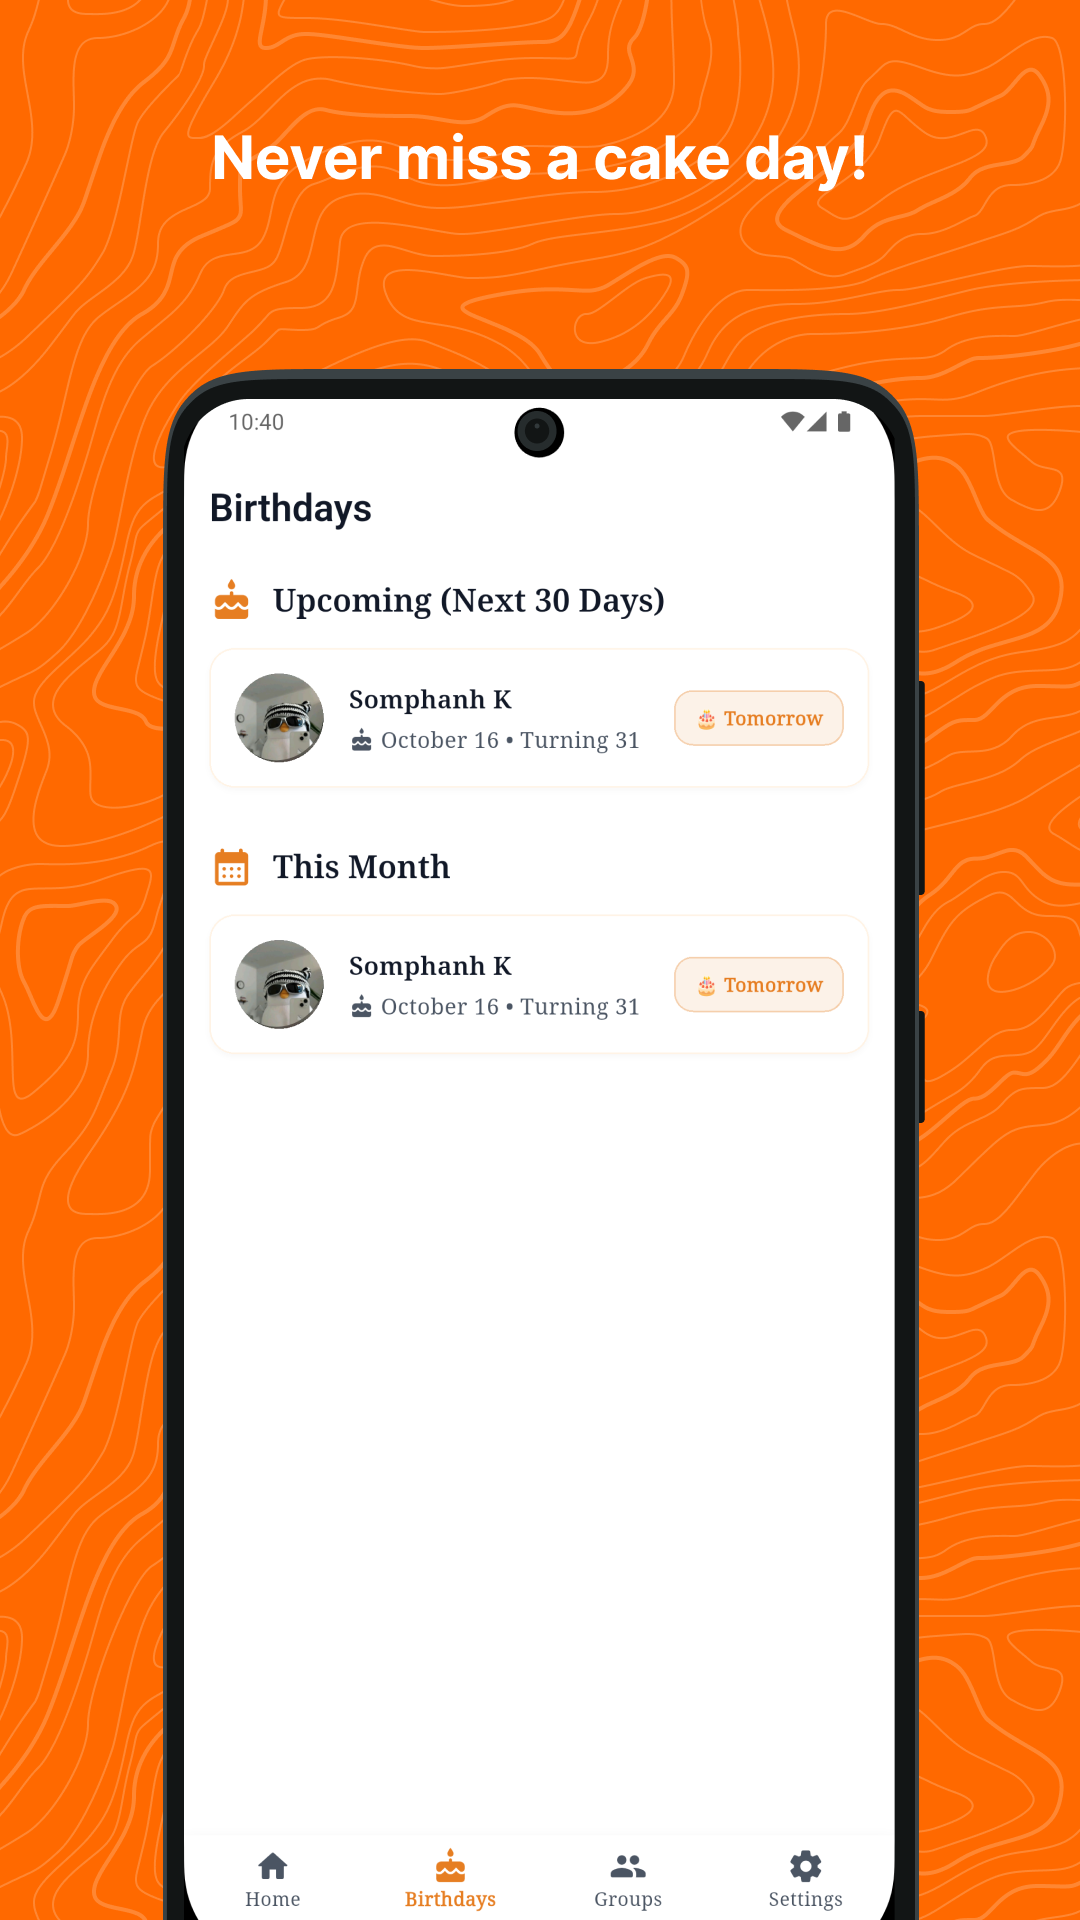
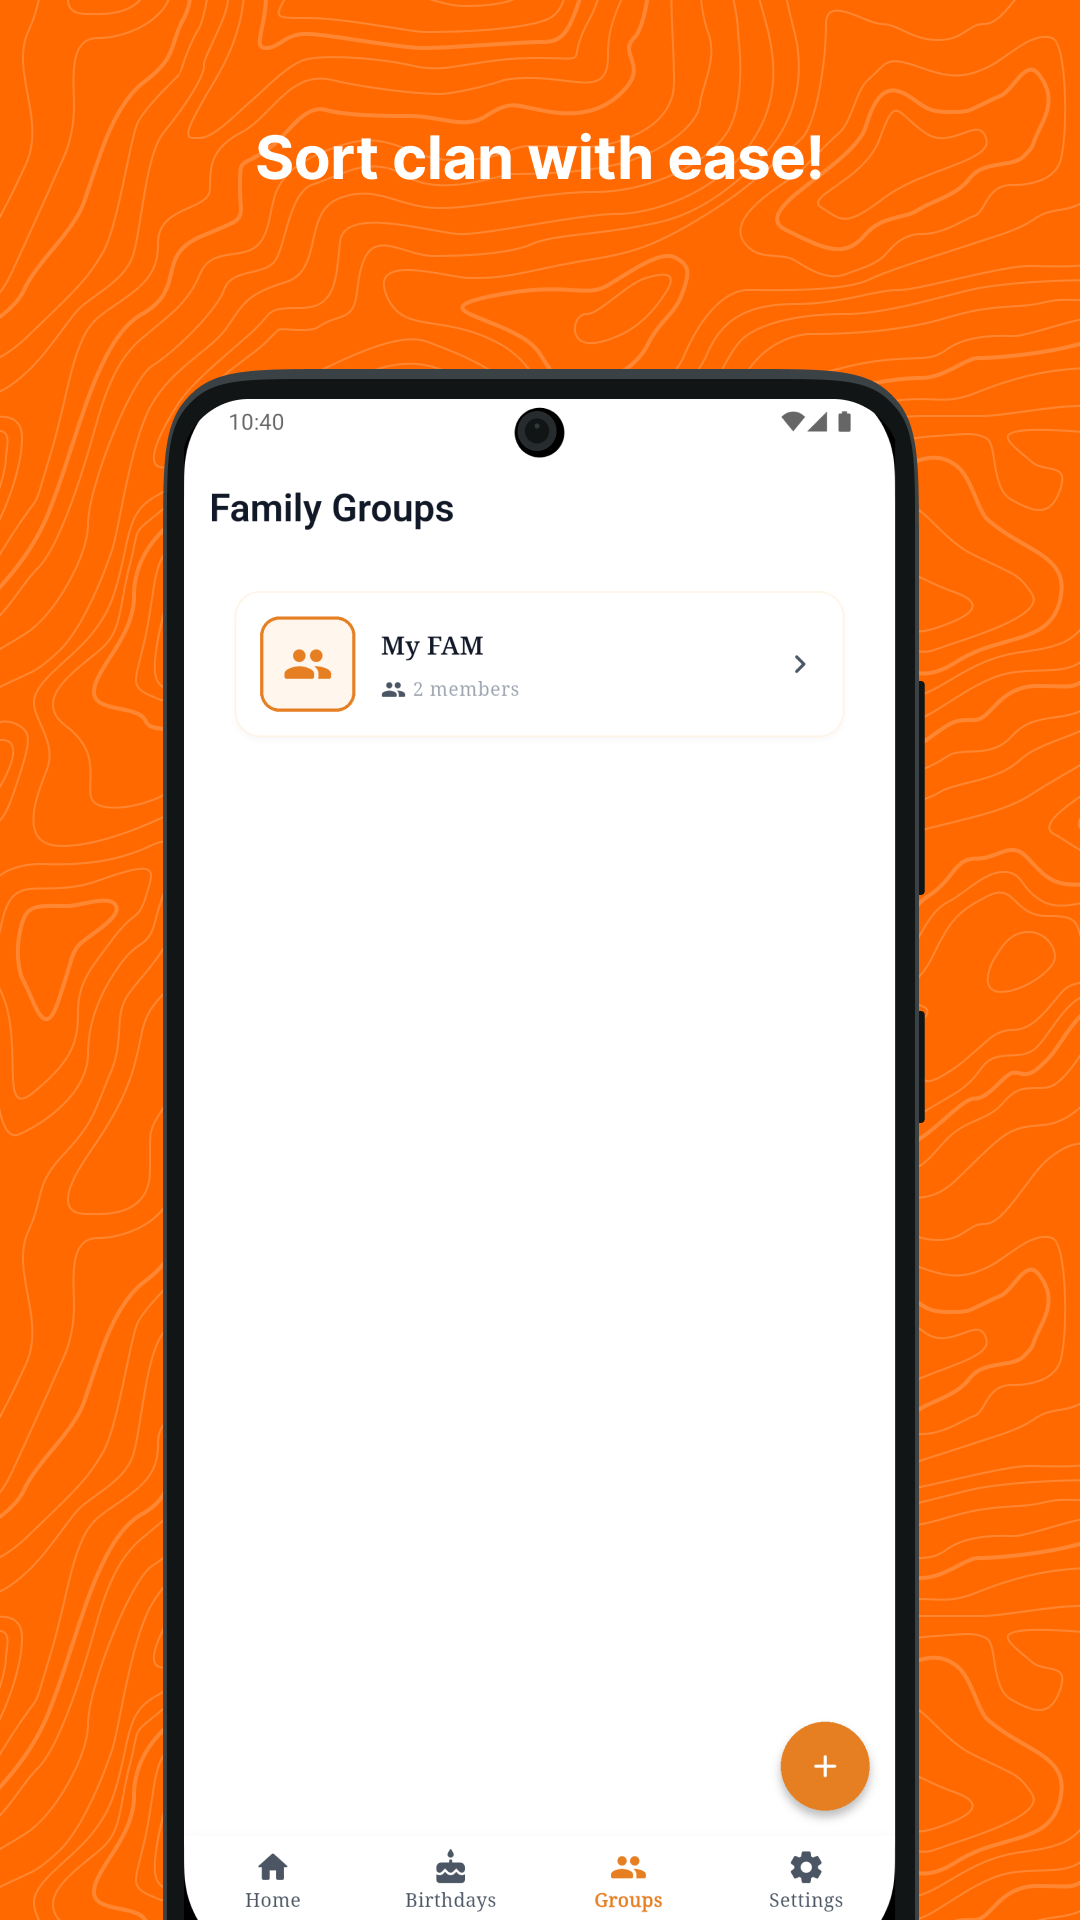
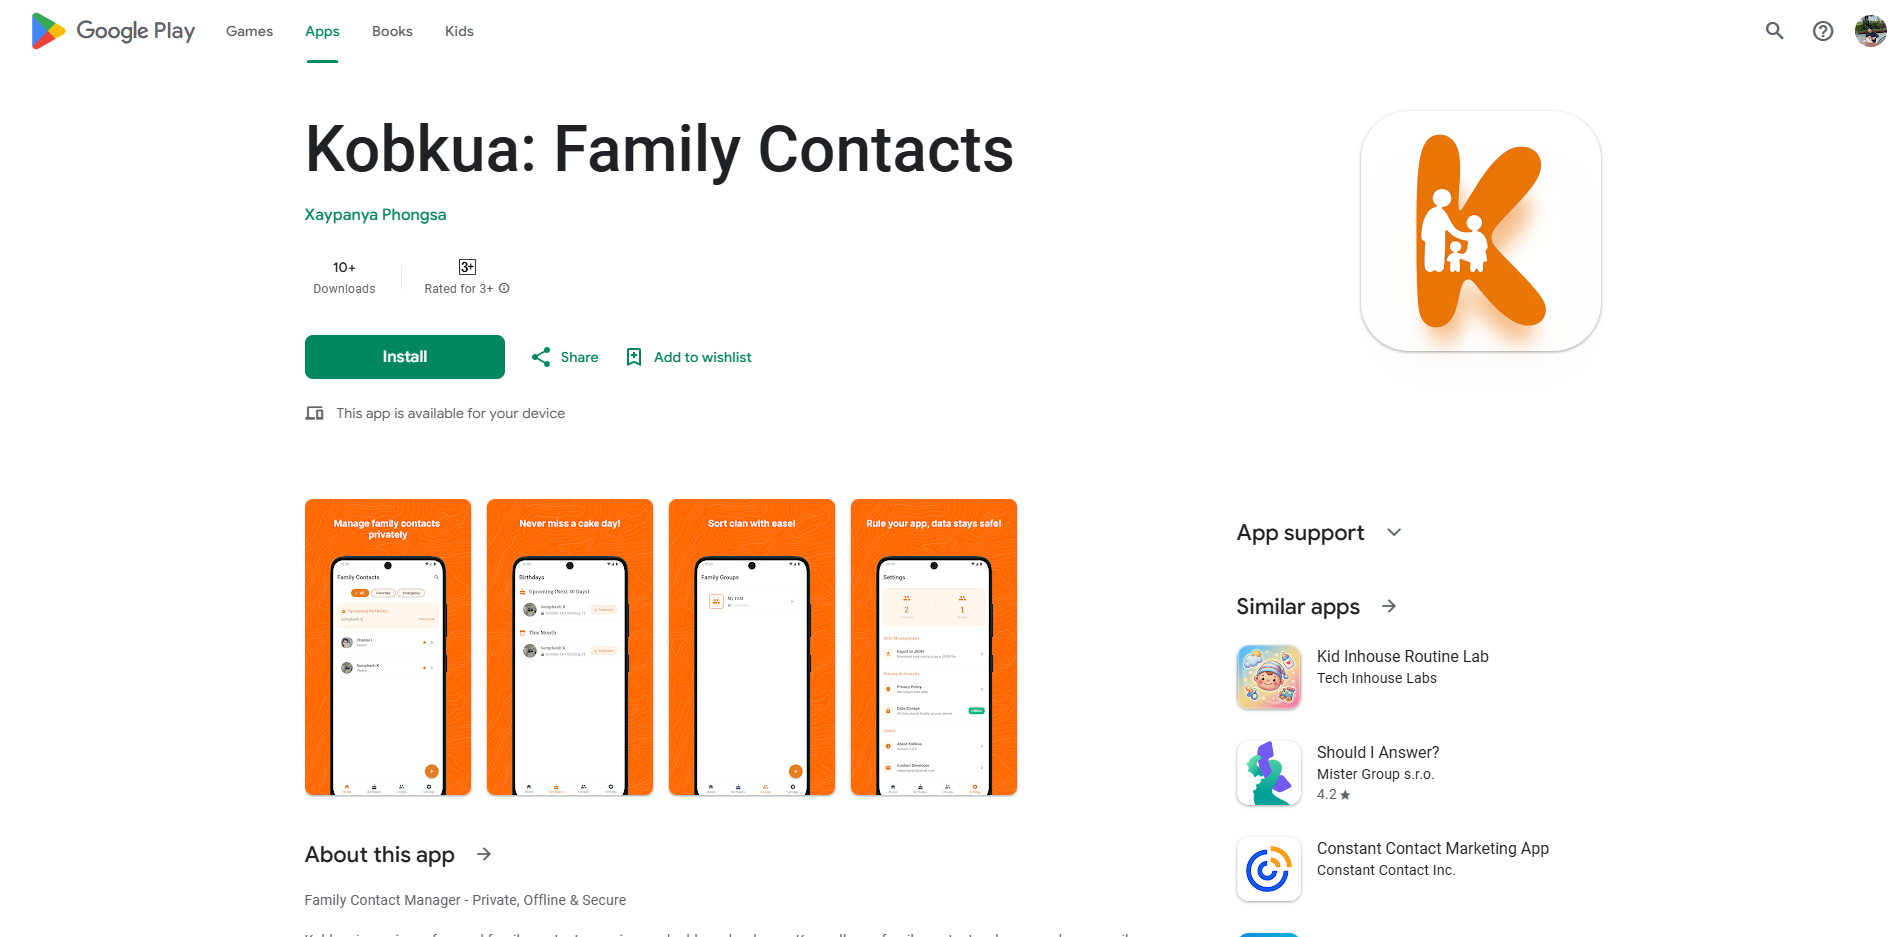
I spent about 2 weeks building my app using Flutter. The app is called Kobkua — a private family contact manager that lets you organize all your family members’ contact information in one secure place with 100% offline local storage. It handles contact management, birthday reminders, and social links.
Here’s a quick overview of the app’s 4 main screens:
Once the app was ready, I built it into an AAB (Android App Bundle) file, which is what Google Play requires.
Step 3: Set Up the App on Play Console
I went back to the Play Console, registered my app, and started filling in all the app details. That’s when I hit the first wall — requirements I didn’t expect.
Requirement 1: Privacy Policy Page
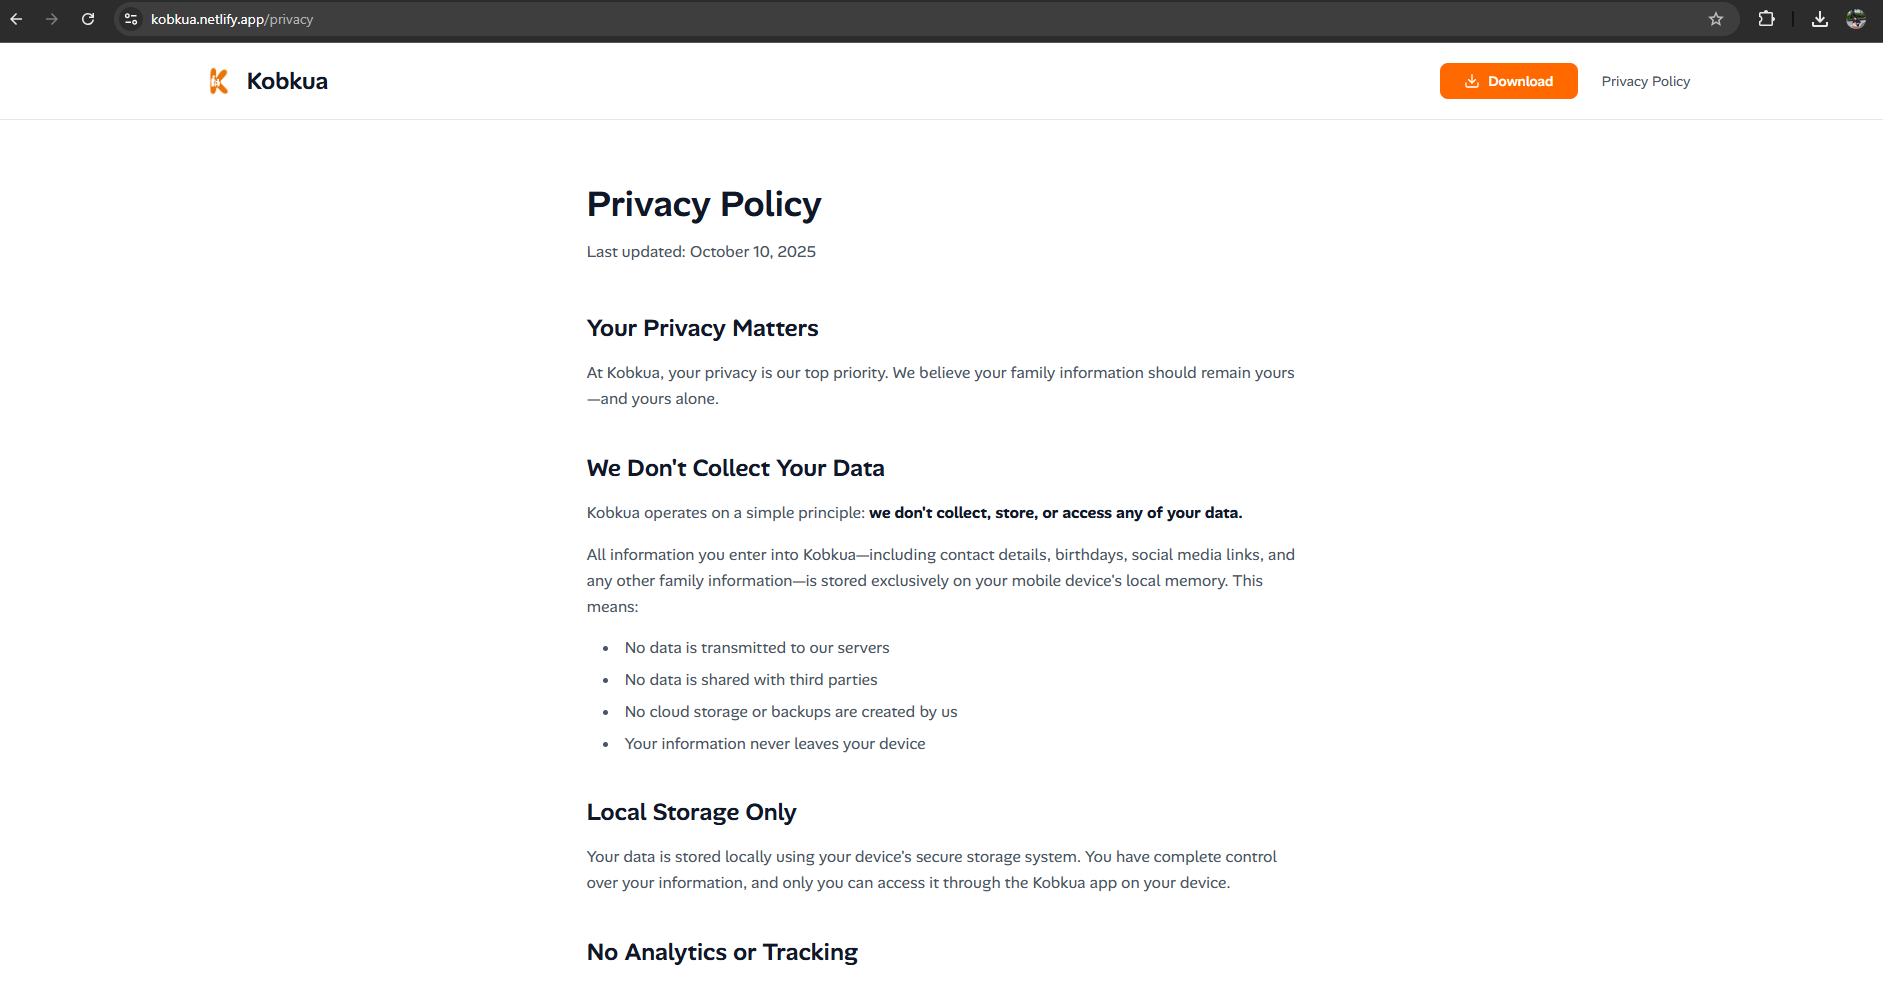
Google requires a privacy policy URL for your app. So I had to pause and spend about 1 day building a landing page for my app that included a proper privacy policy page.
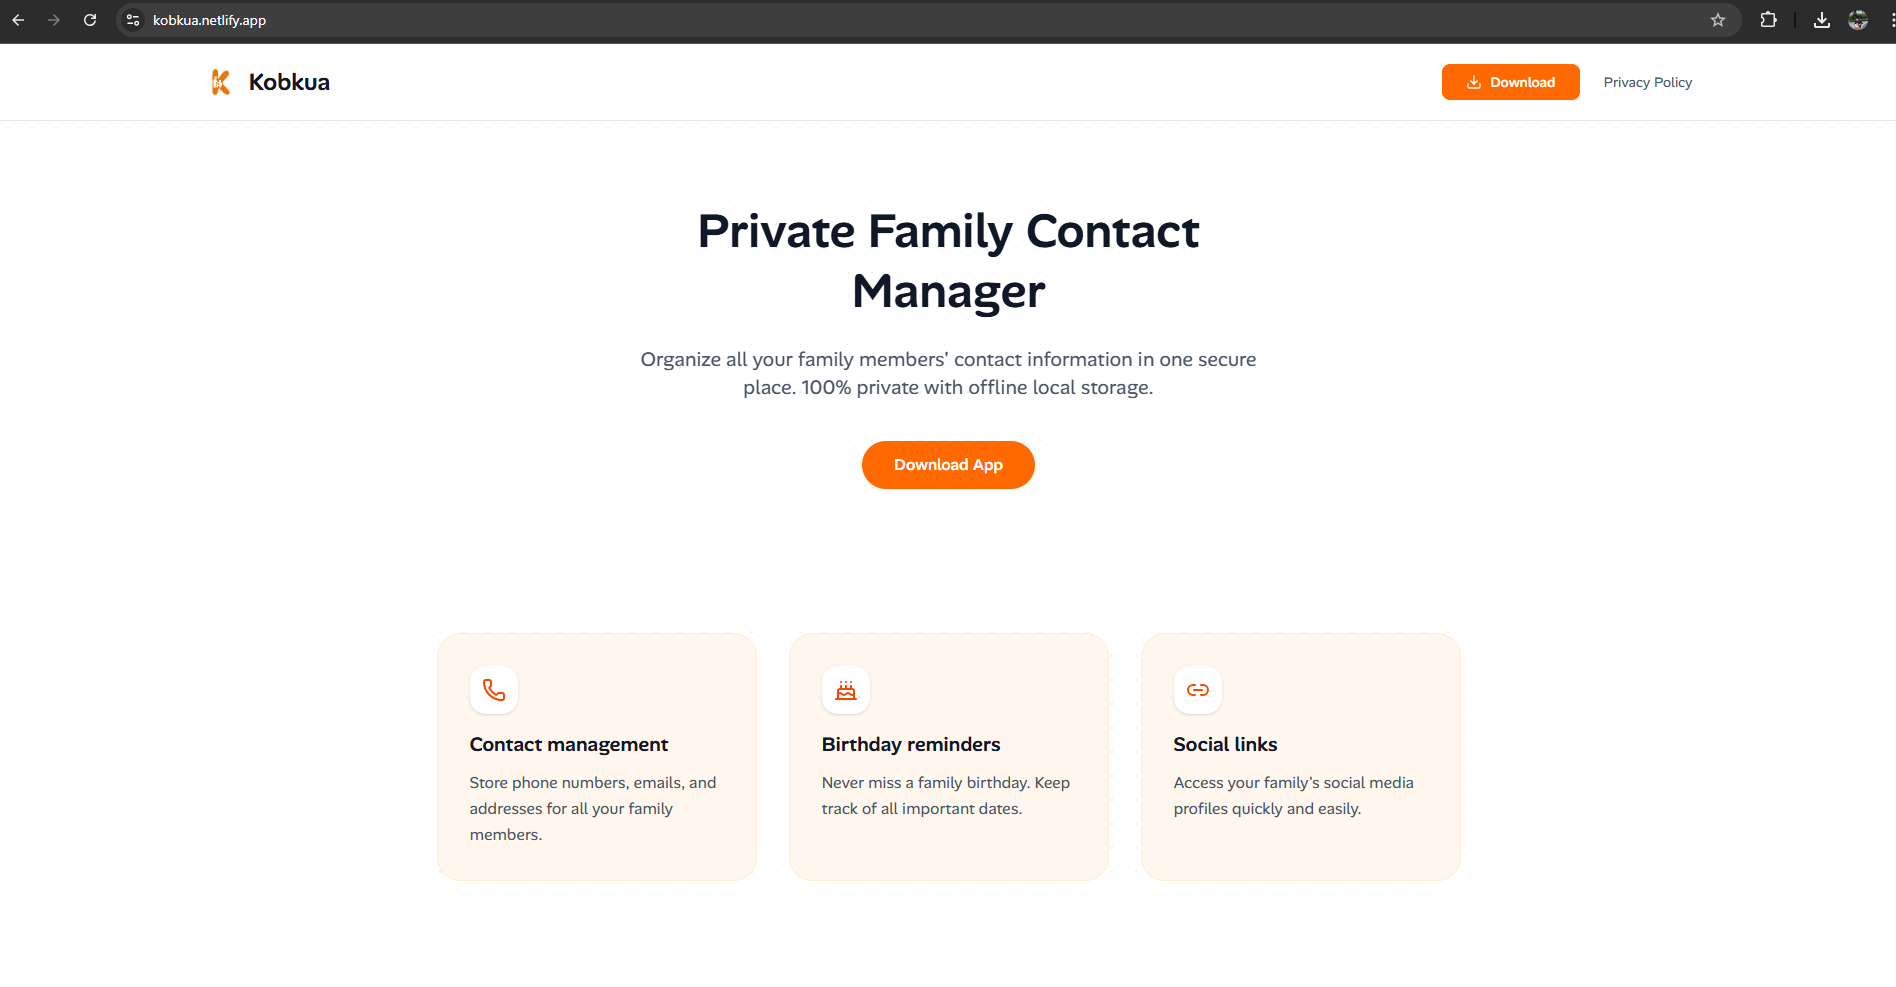
Here’s the landing page I built:
And the privacy policy page:
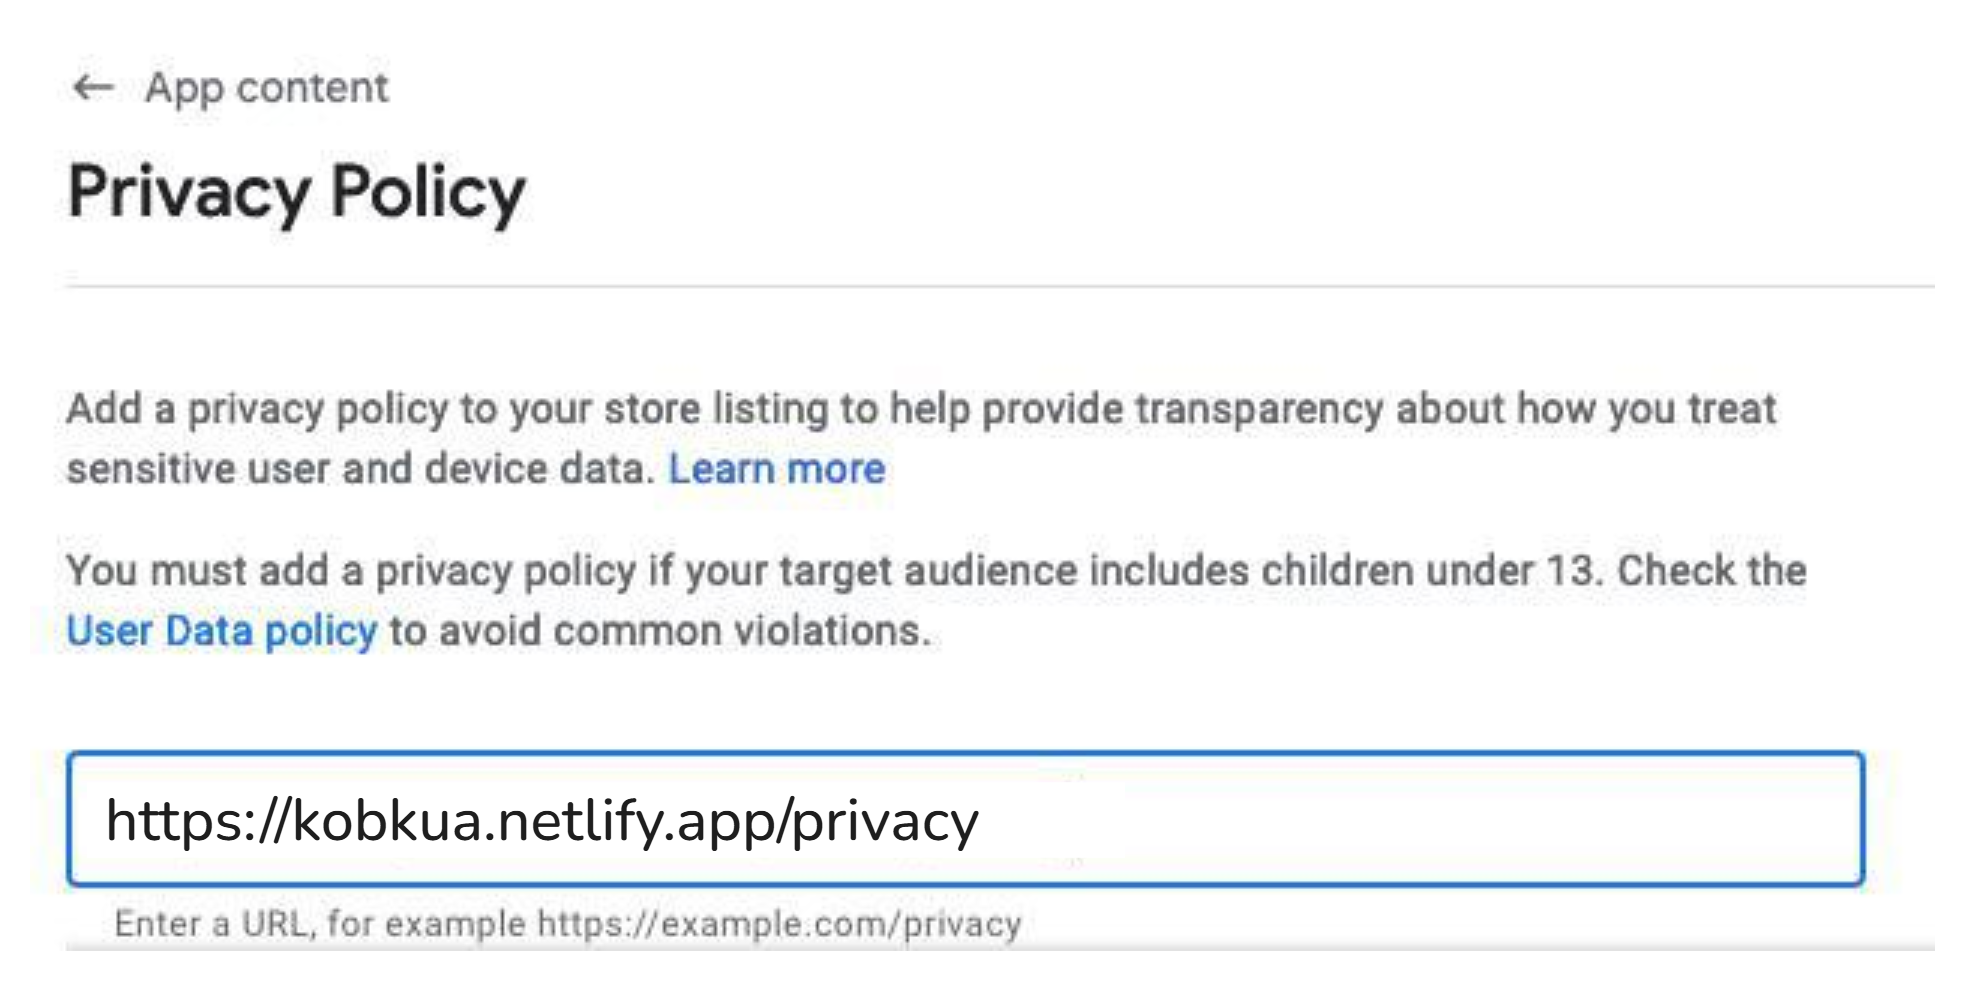
Then I entered the URL in the Play Console:
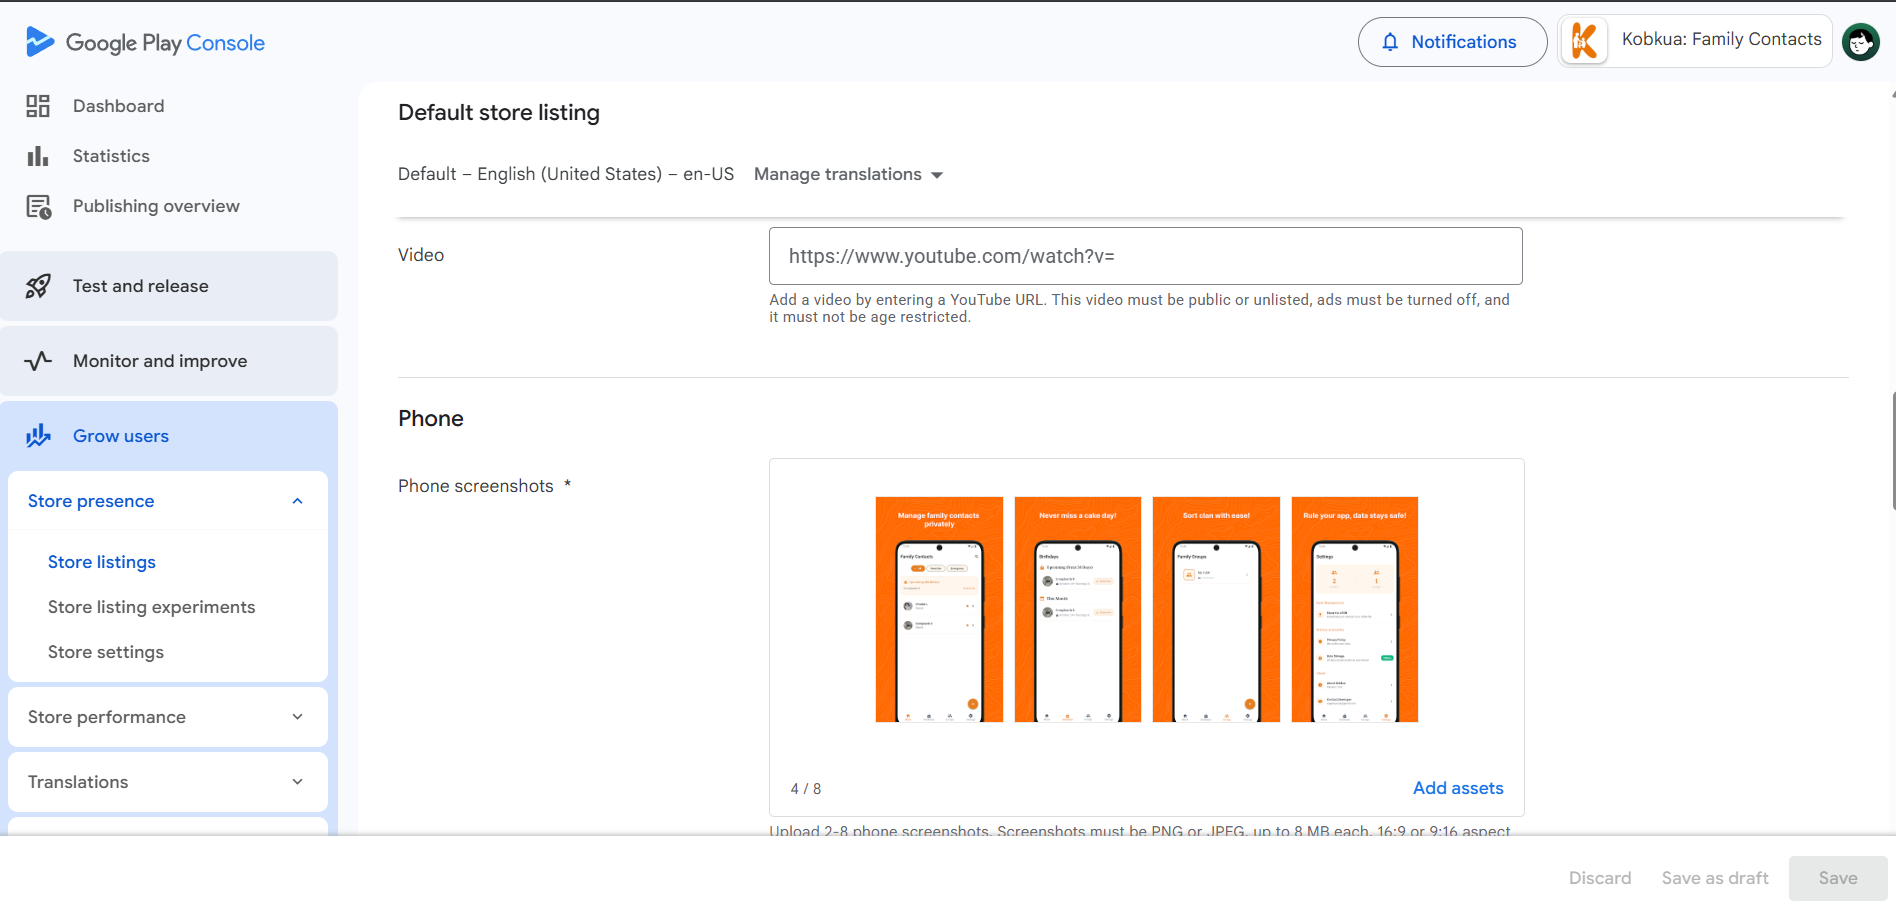
Requirement 2: Screenshot Designs
You also need screenshots for the store listing, and they need to look good. I spent about 2 days designing these in Figma during my free time.
Here are the 4 screenshots I designed for the Play Store listing:


And here’s what they look like uploaded to the Play Console:
Step 4: Upload and Start Testing
After all the preparation, I uploaded my AAB file and started the testing process. This is where it got really interesting.
The 3 Stages of App Testing on Play Store
I learned that Google Play has 3 main testing stages before your app goes live:
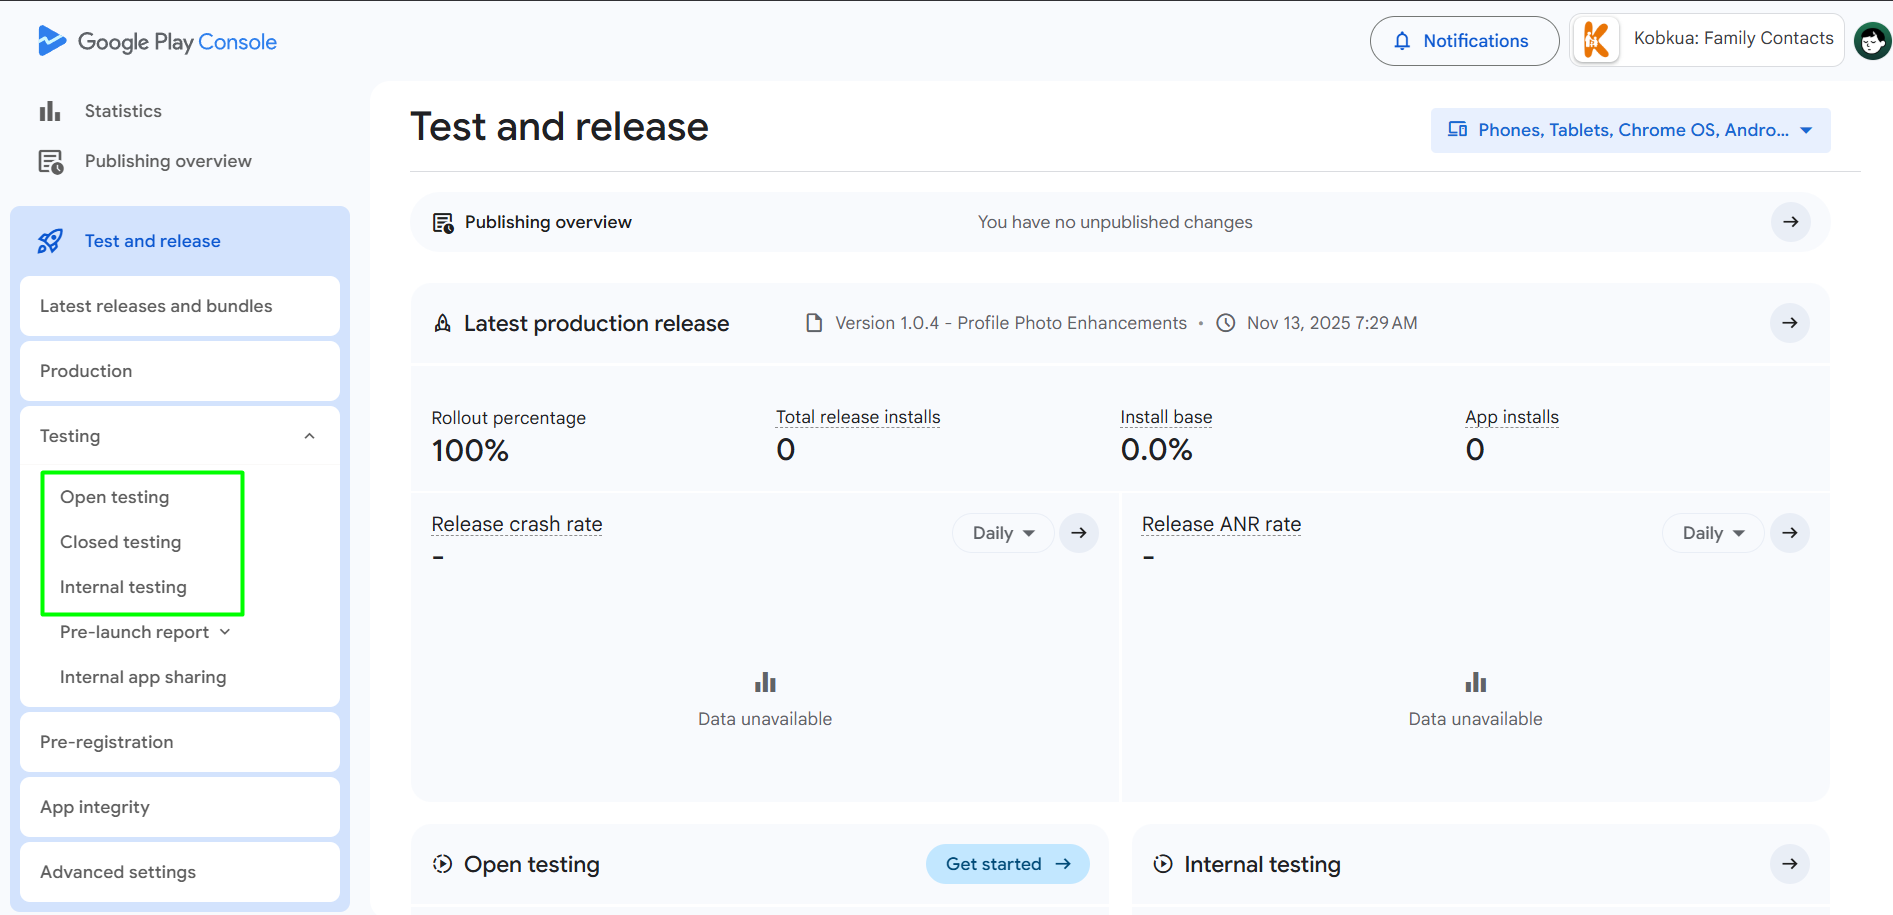
1. Internal Testing
This is for you and your team. You can test the app internally to catch bugs and make sure everything works.
2. Closed Testing
Other people can test your app from the Play Store, but only if you give them access via email. This is where it gets tricky for solo developers.
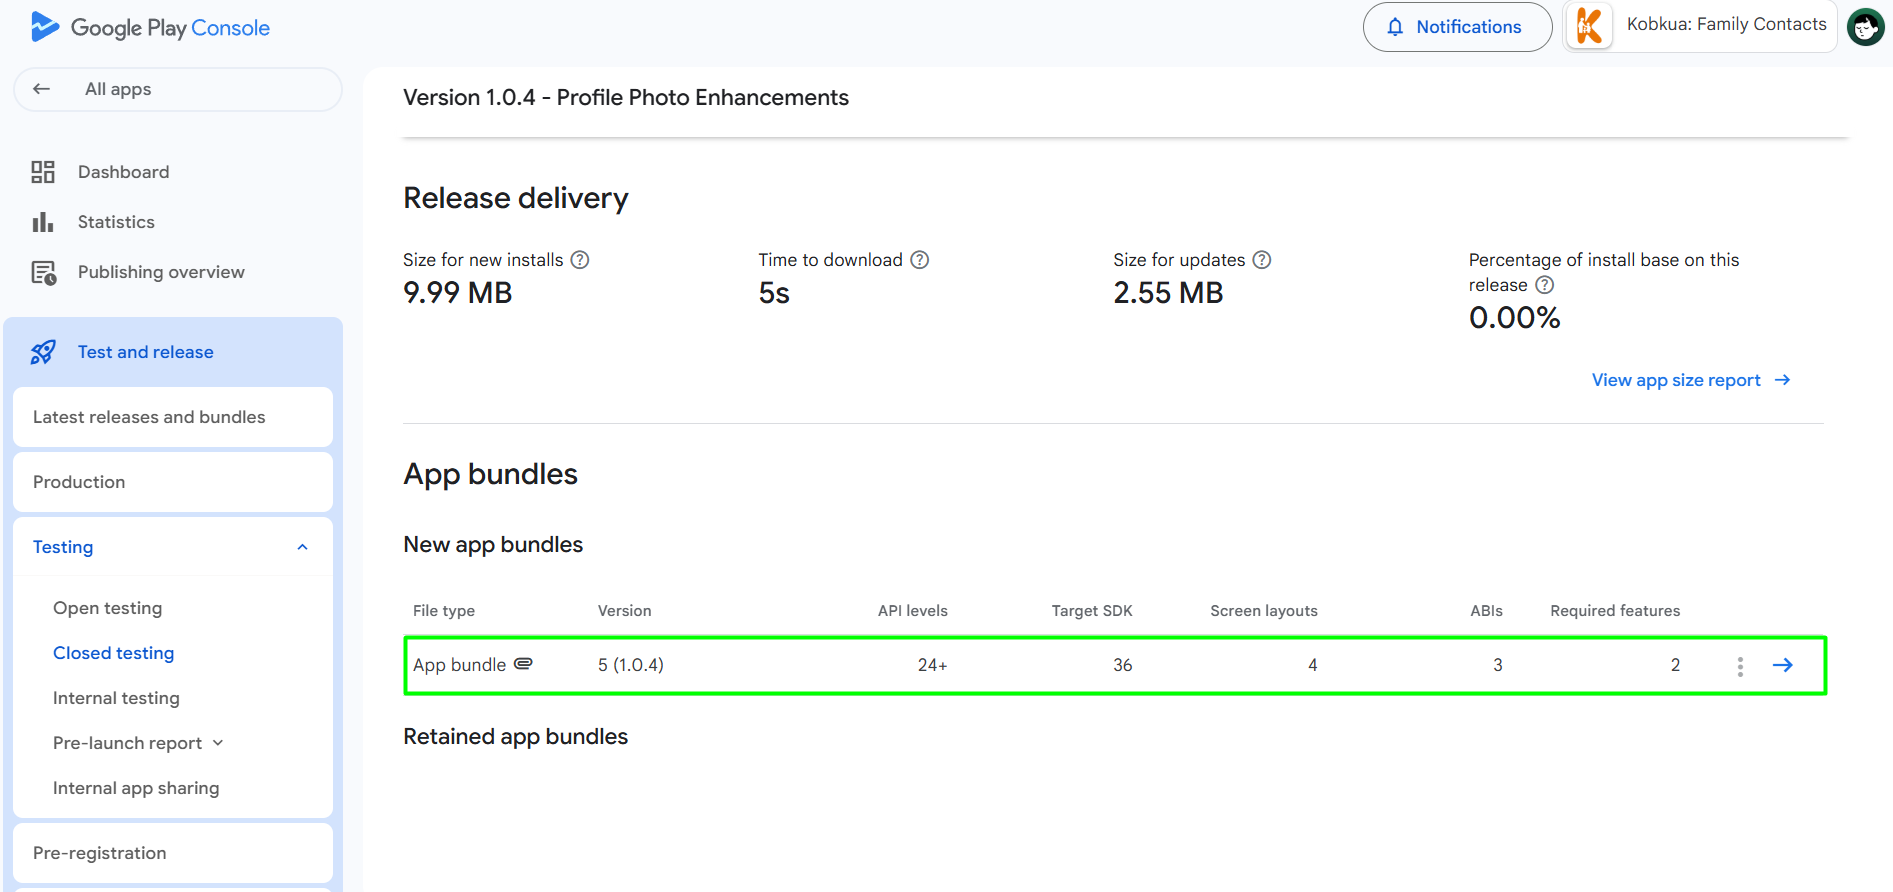
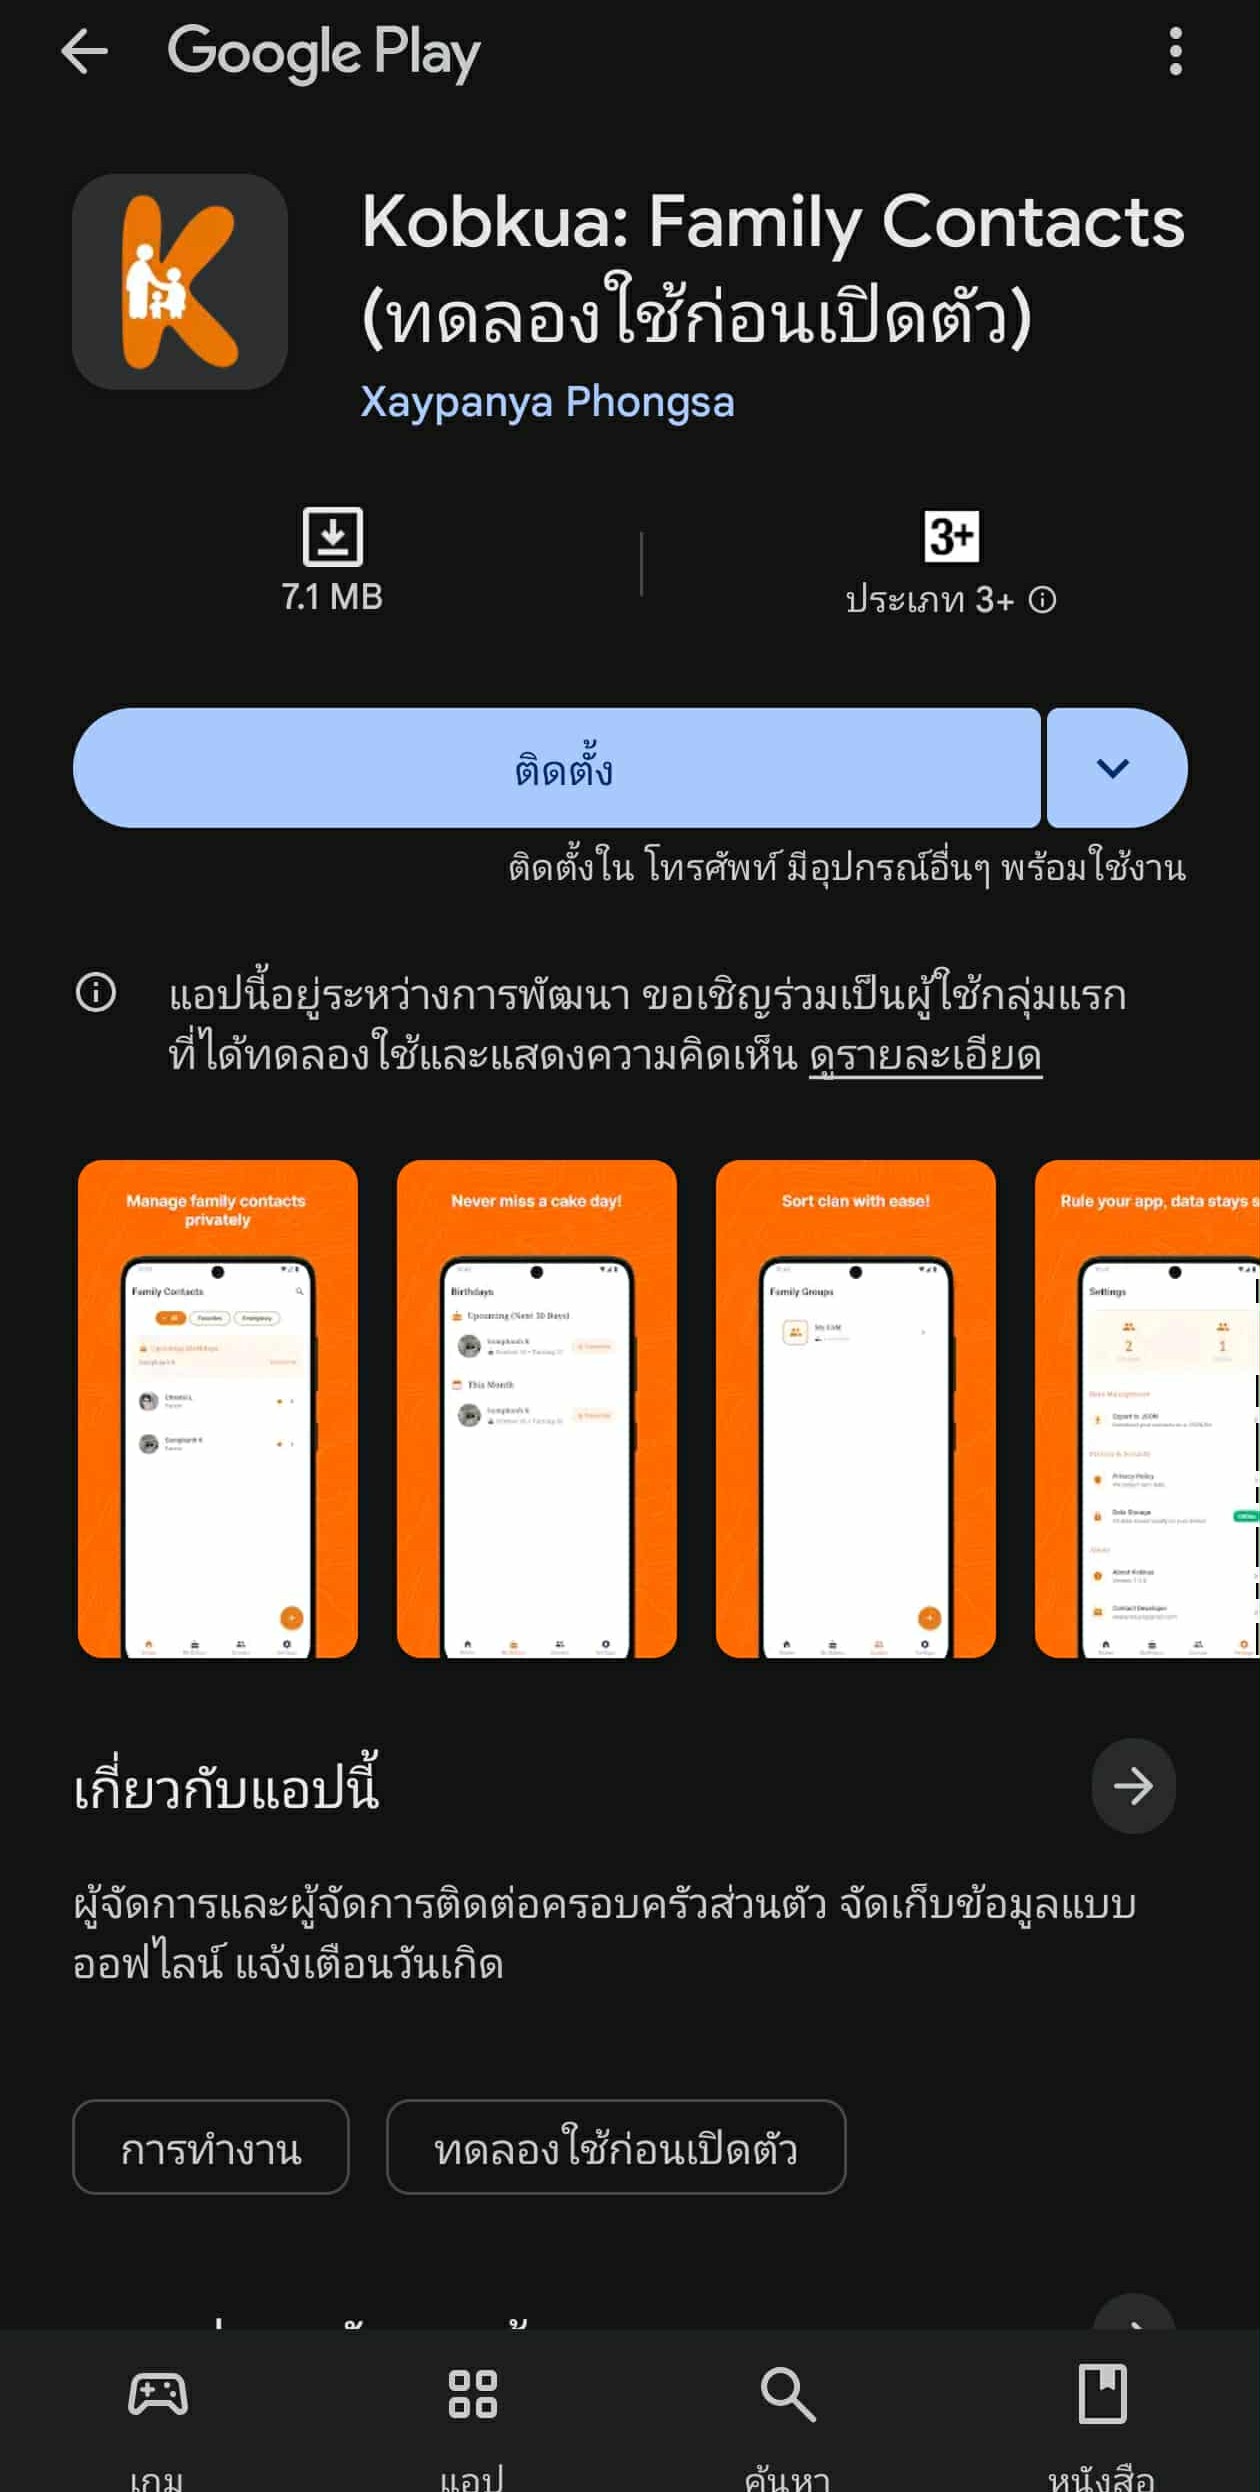
Here’s what my app looked like on the Play Store during closed testing:
3. Production
To go from Closed Testing to Production, you need to pass certain requirements and wait for approval from the Google Play review team.
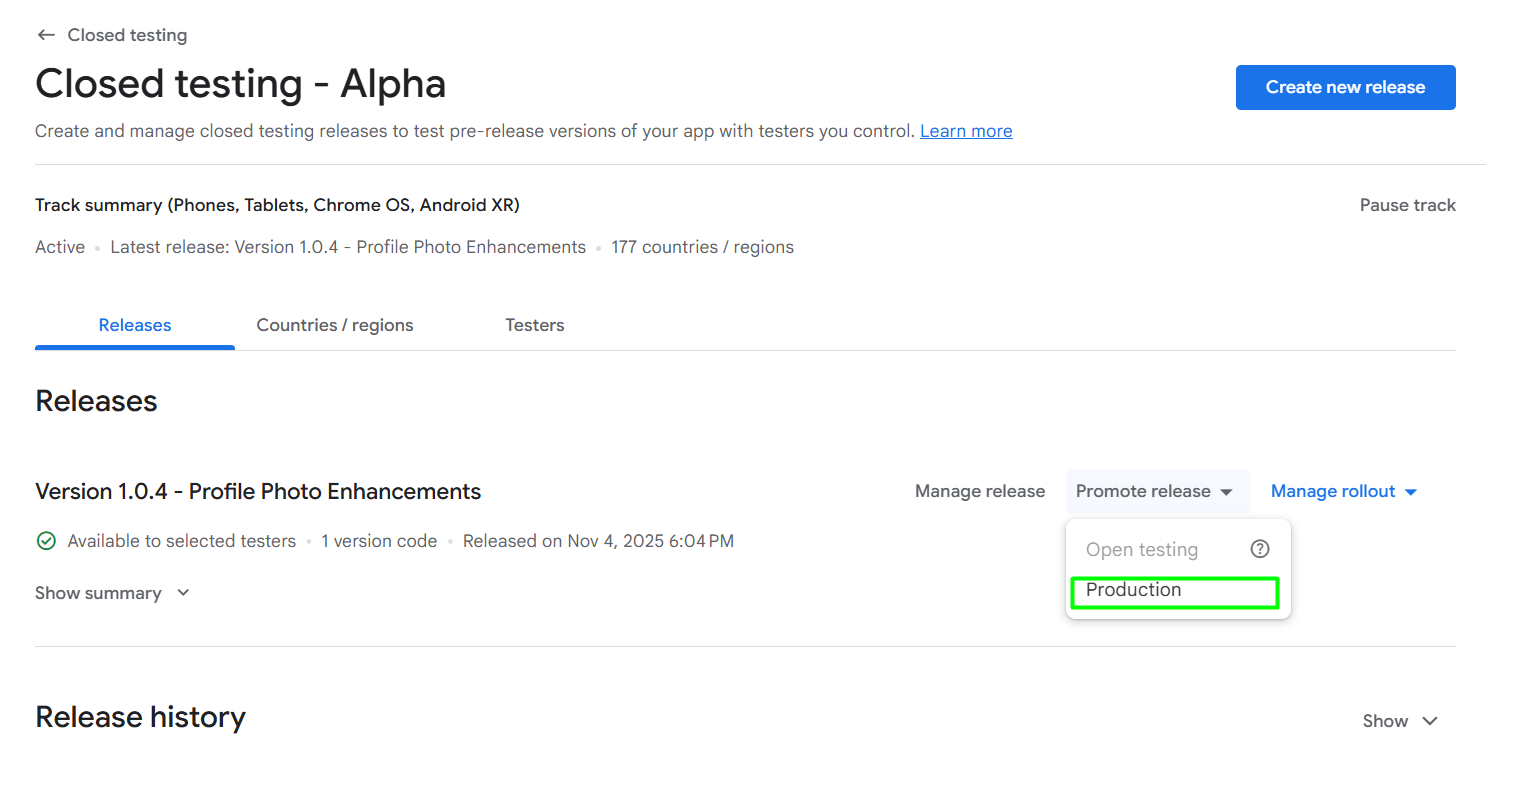
The Biggest Surprise: The 12-Tester Requirement
Here’s the thing nobody tells you upfront — to promote your app from Closed Testing to Production as an individual account, you need:
- At least 12 testers who have opted in
- They must test your app continuously for at least 14 days (or at least not remove the app within 14 days)
That’s almost half a month of waiting, and finding 12 people willing to test your app is harder than it sounds.
How I Found Testers
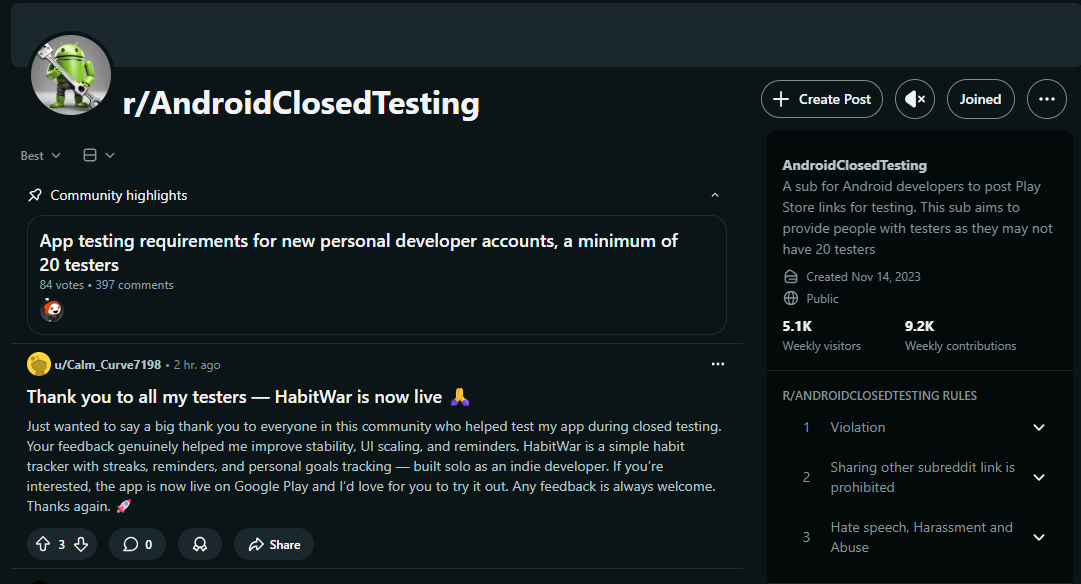
Reddit Communities
I first tried Reddit communities like:
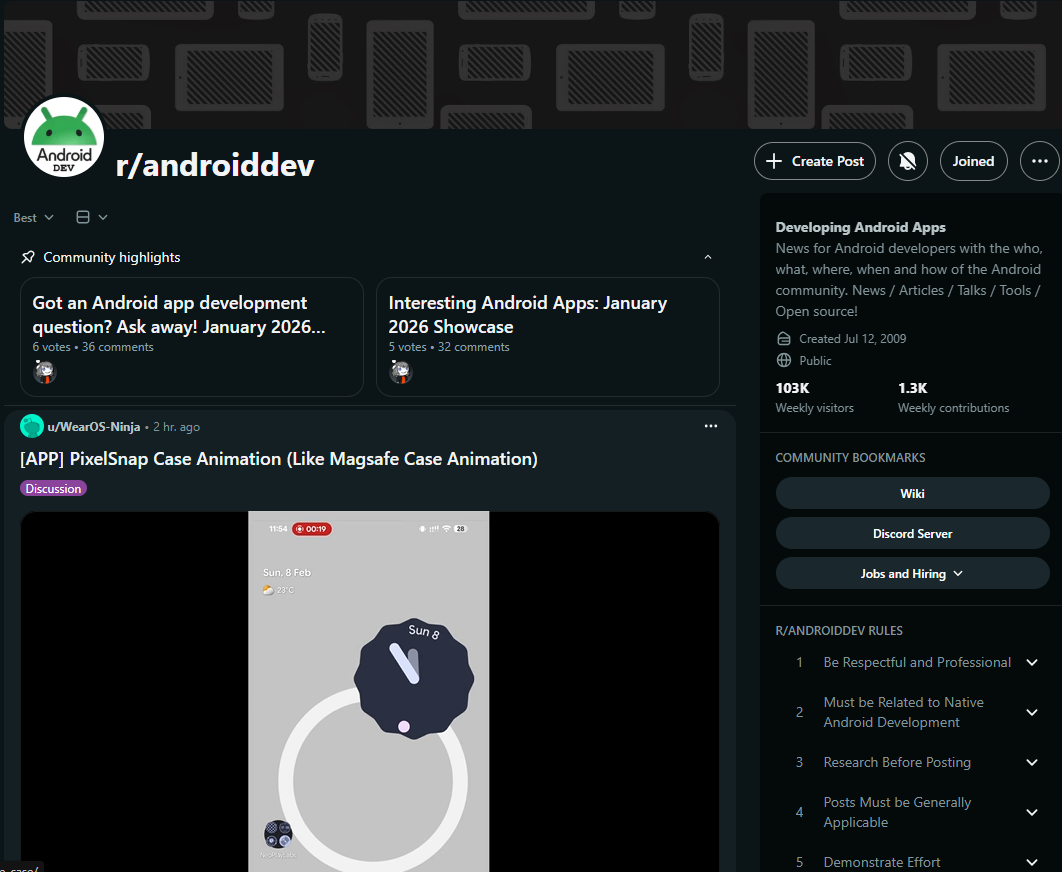
Most posts there look like this — developers offering to test each other’s apps in exchange:
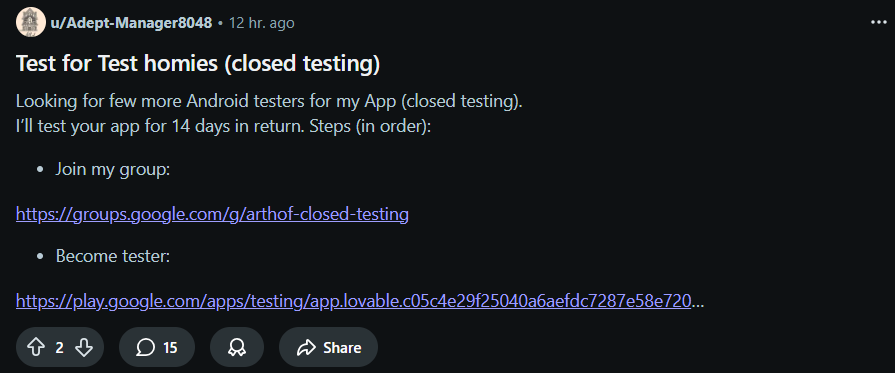
But honestly, it didn’t work well. There’s way more demand than supply — everyone is looking for testers, but very few people are actually willing to test. I only got about 2–5 testers from Reddit.
I also asked my sister to help become a tester — every tester counts!
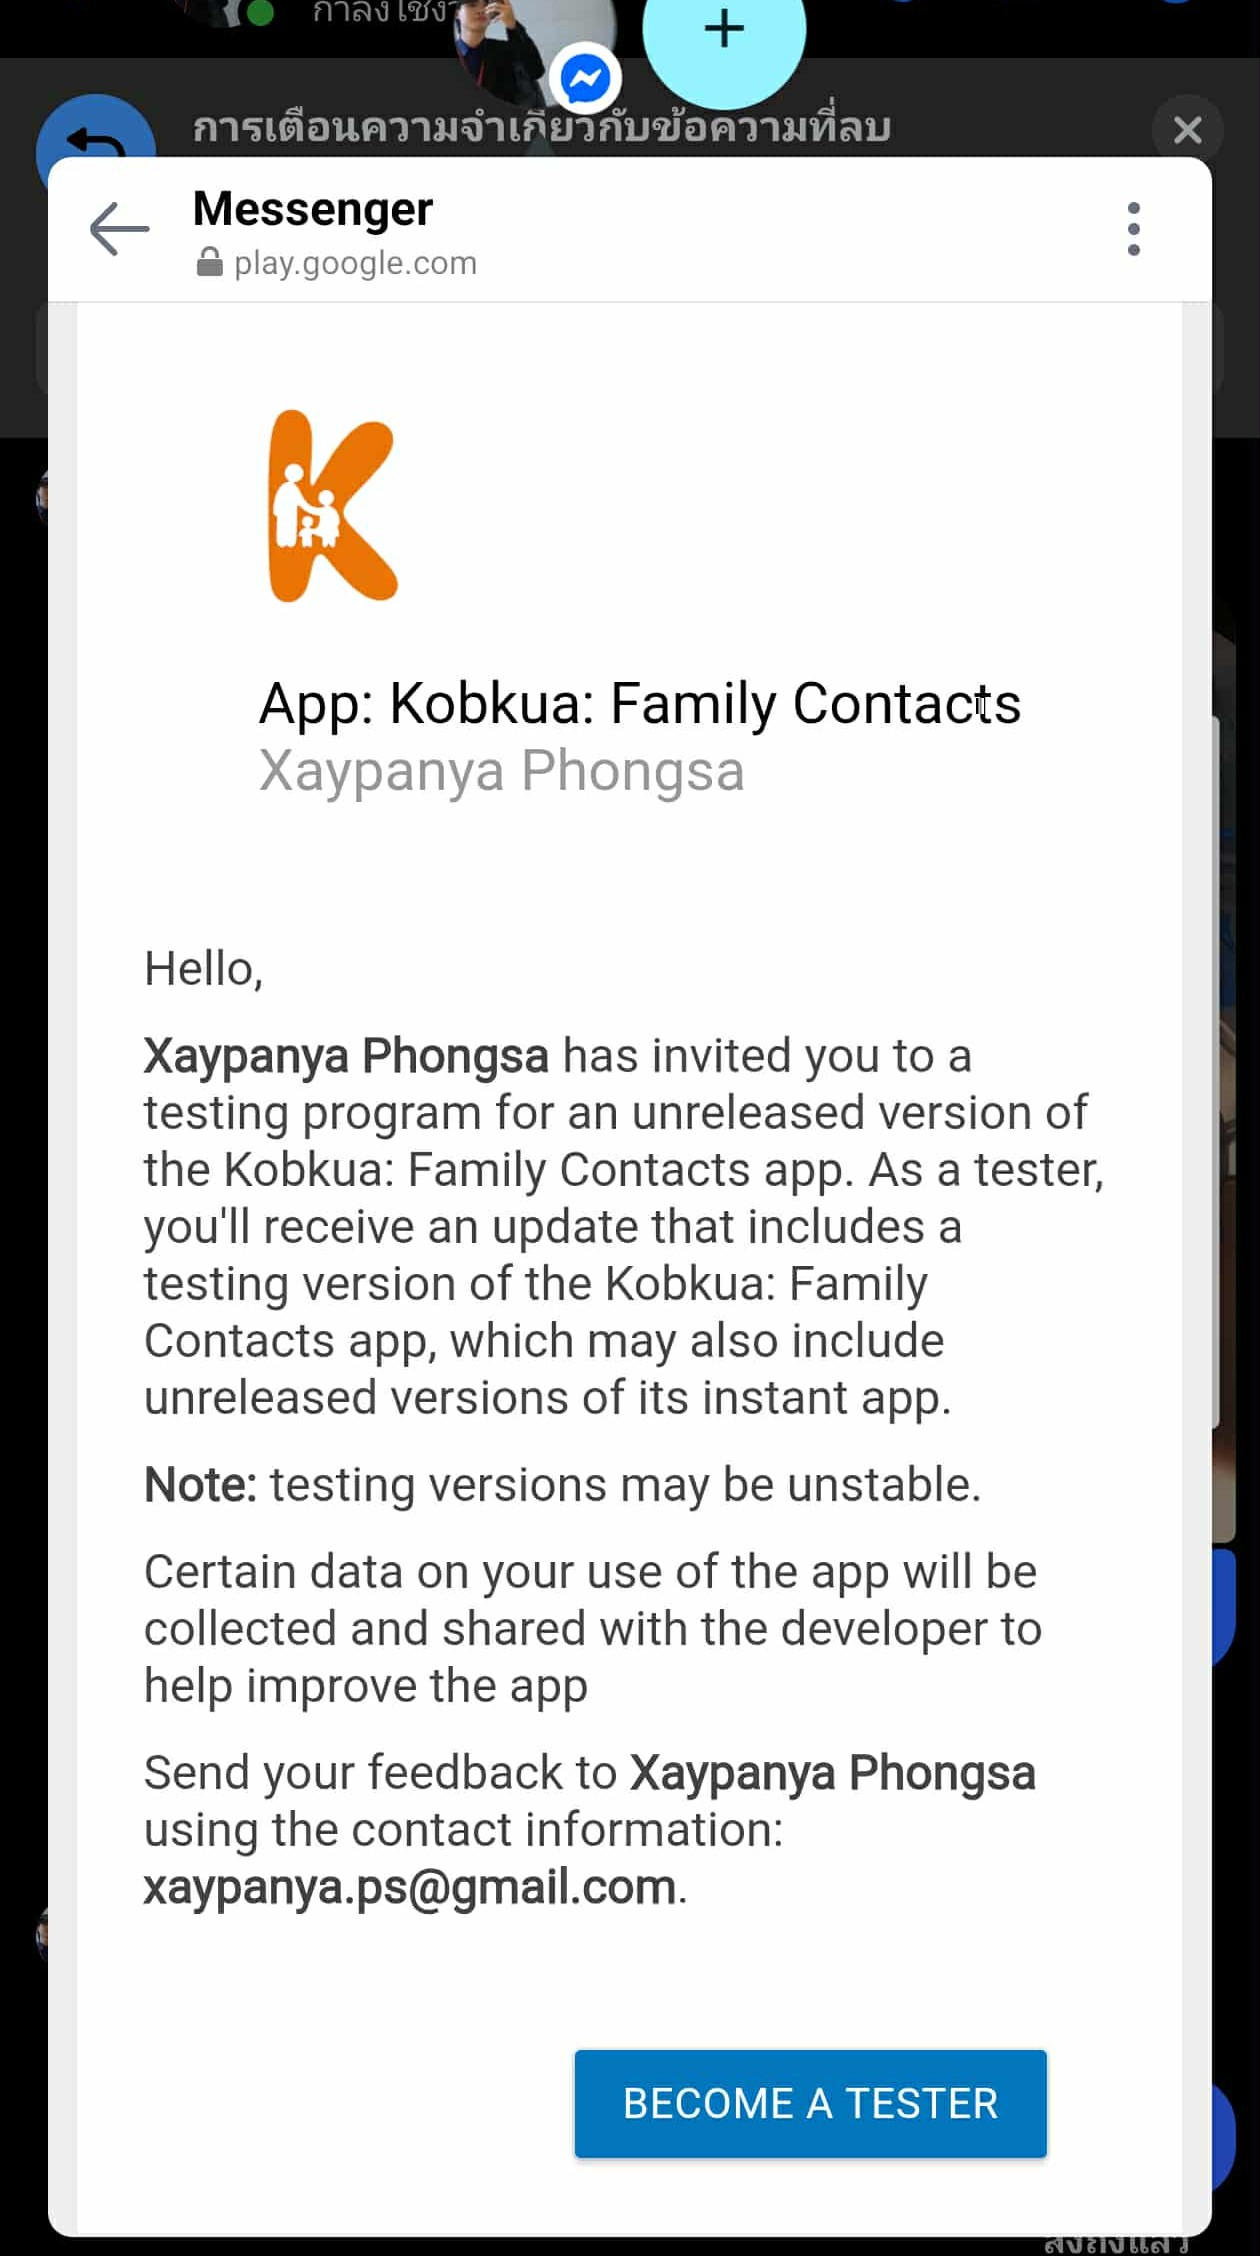
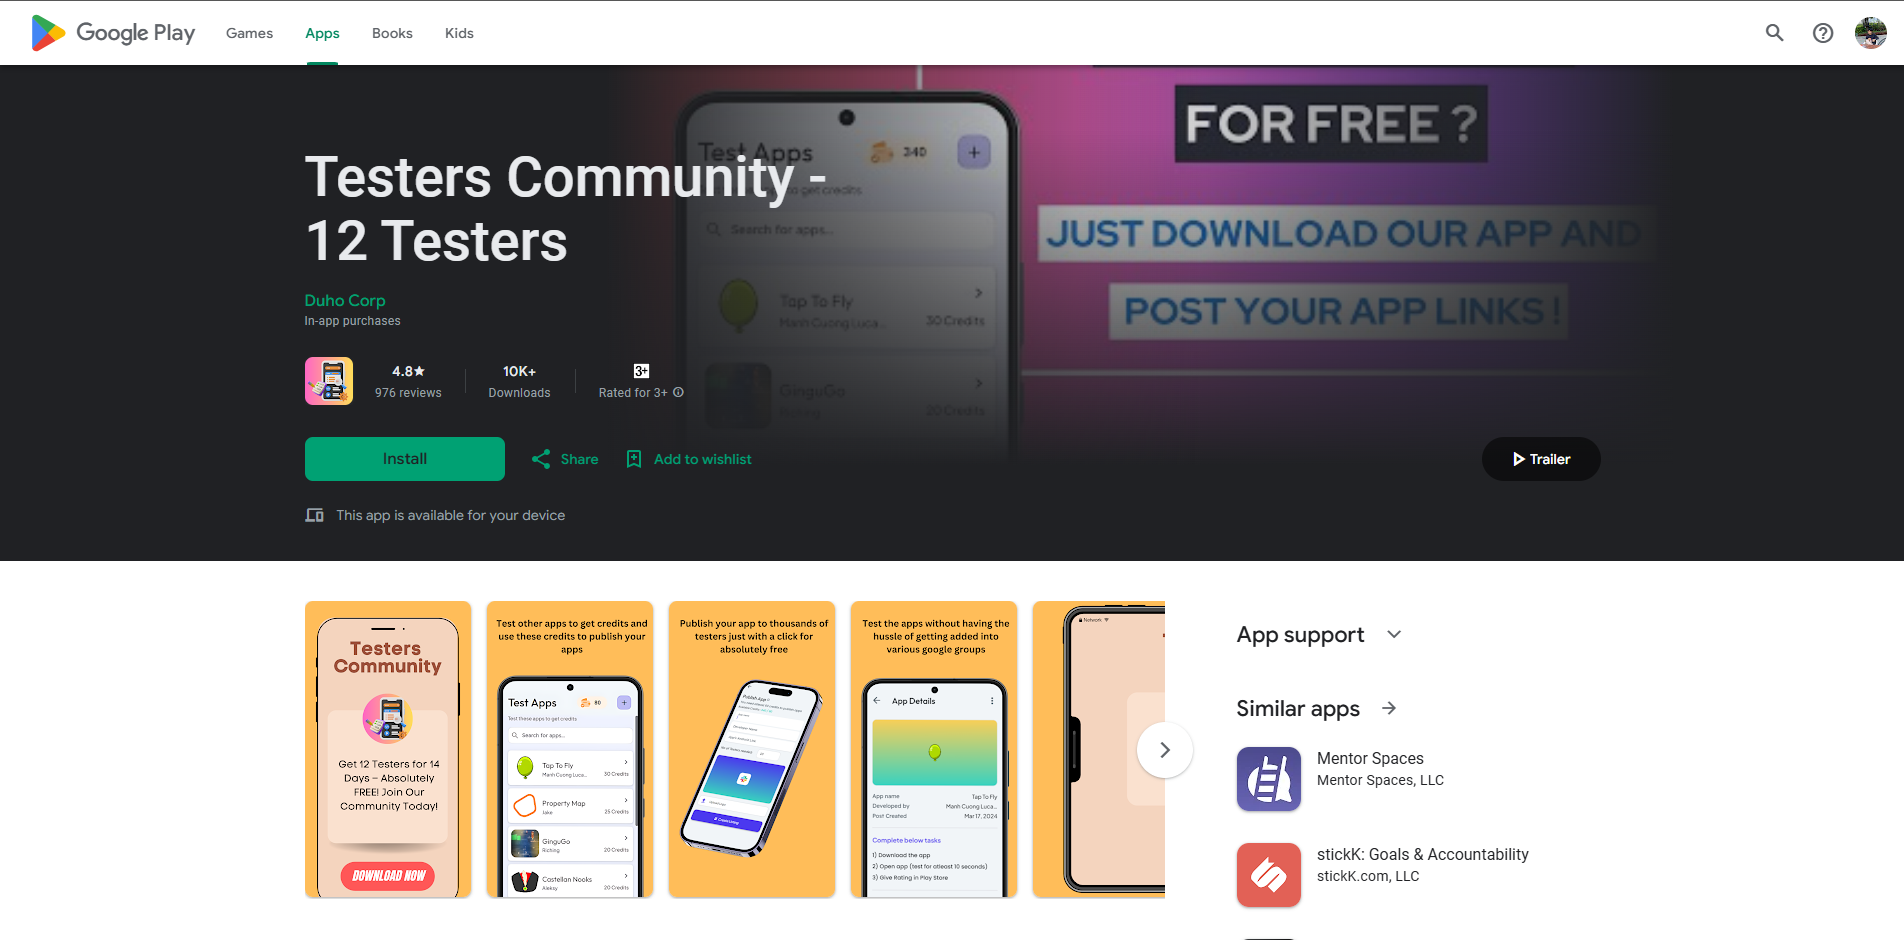
Testers Community App
Then I found Testers Community — an app where developers exchange testing. You test other people’s apps and earn credits, then use those credits to post your own app for testing.
Inside the app, you can browse other developers’ apps and test them to earn credits:
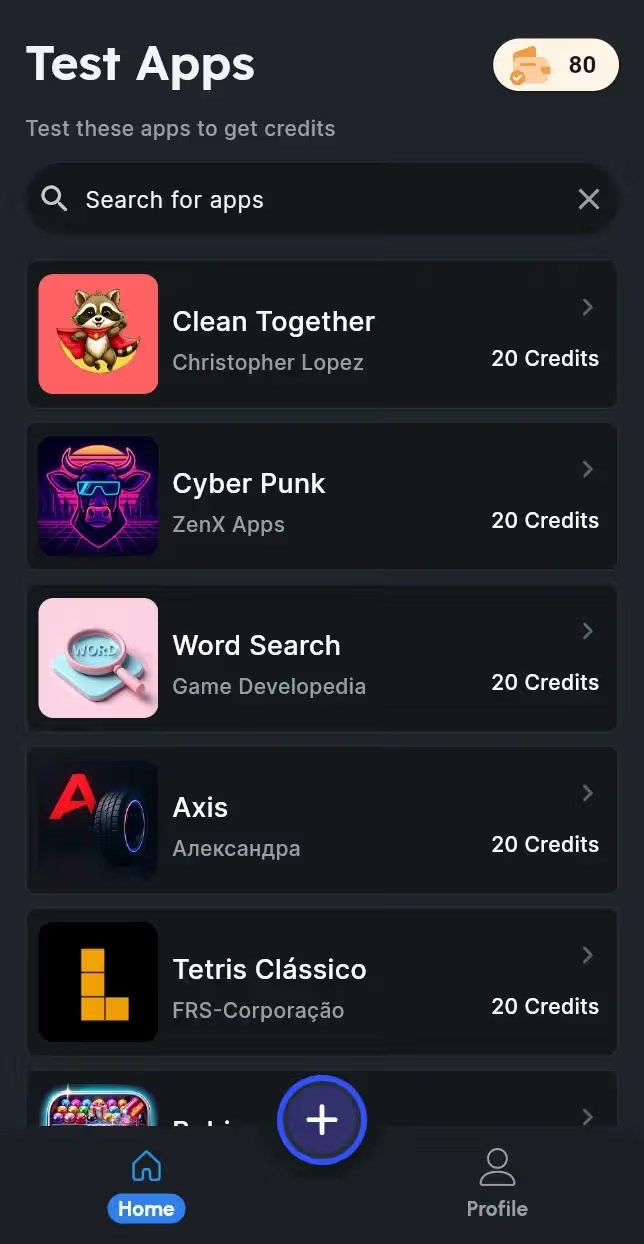
Important: You need to install and test apps on a real device. Using an emulator to test apps can lead to your Play Console account getting suspended.
I managed to get about 12 testers through this app. But keep in mind, you have to test other developers’ apps too since the platform runs on a credit system.
The Waiting Game
After getting my 12 testers, I had to wait 14 days before my app was eligible to be promoted to Production.
What I Wish I Knew Earlier
If I could go back and tell myself one thing, it would be this:
The individual account type requires 12 testers for closed testing, and getting those testers is the hardest part of the entire process.
I’ve seen on Reddit that the requirements keep changing — previously they required 21 testers, and while it’s down to 12 now, it’s still tough for a solo developer. The testing communities help, but it takes effort and patience.
It’s Live!
After all the waiting, testing, and preparation — my app is finally live on the Google Play Store!
Final Thoughts
Publishing an app to the Play Store as a solo developer is absolutely doable, but it takes much longer than you’d expect. Between building the app, creating the landing page, designing screenshots, finding testers, and waiting 14 days — be prepared for the process to take well over a month.
If you’re planning to do this, start looking for testers early. Don’t wait until your app is ready. The tester requirement and the 14-day waiting period are the real bottleneck, not the development itself.
Good luck with your first app — and I hope knowing this saves you some time and frustration.
If you’d like to try Kobkua, you can download it here: